
New in Sticklight: Visual Instruction for AI-built projects

You just generated a project in Sticklight, maybe a landing page, an internal dashboard, or a client-facing app. The layout is close, but a data card is too big, the primary action button needs to sit two inches to the left, and the header could use a little more breathing room. You open the chat and start typing: “Can you move the summary card slightly to the left, expand the header, but keep the typography aligned with the body text?” Three sentences later, you’re still not sure the AI understood you the way you meant it.
That’s the exact moment Visual Instruction was built to fix, and it’s what this release is about. Now you can select, move, or resize anything on the canvas, and Sticklight sees it and builds from there. No prompt required.
Why text prompts fail at layout geometry
Generative AI is excellent at broad creation. Ask it to “build a high-converting landing page for a SaaS company” and you’ll have a solid structural draft in seconds. The trouble starts the moment you move from generation to polish.
Layout is spatial. Describing a spatial idea in prose, like “move the card left but keep it aligned with the paragraph below it,” is inherently inefficient, and it’s slow, ambiguous, and credit-heavy to boot. Words are a poor substitute for pointing.
This mismatch creates three specific friction points for creators:
- Prompt fatigue. You spend more time typing a paragraph describing coordinates than it would take to drag the element yourself.
- Credit burn. Minor alignment tweaks eat into the same AI credits you’d rather spend on real feature work.
- Context misalignment. Language models often misread relative positioning from text alone, so you end up in a loop of prompting, checking, and re-prompting.
Visual Instruction removes all three by letting you manipulate the live preview canvas directly, while Sticklight captures the geometry, the text changes, and a screenshot of what you touched, then applies proper Tailwind, CSS, and JSX changes underneath. Not lazy CSS transform hacks bolted onto the original markup. Real code, mapped to your actual source files through element-level tracking.
Canvas editing: select, drag, resize, done
This is the headline experience, and it’s built around one idea: show, don’t tell.
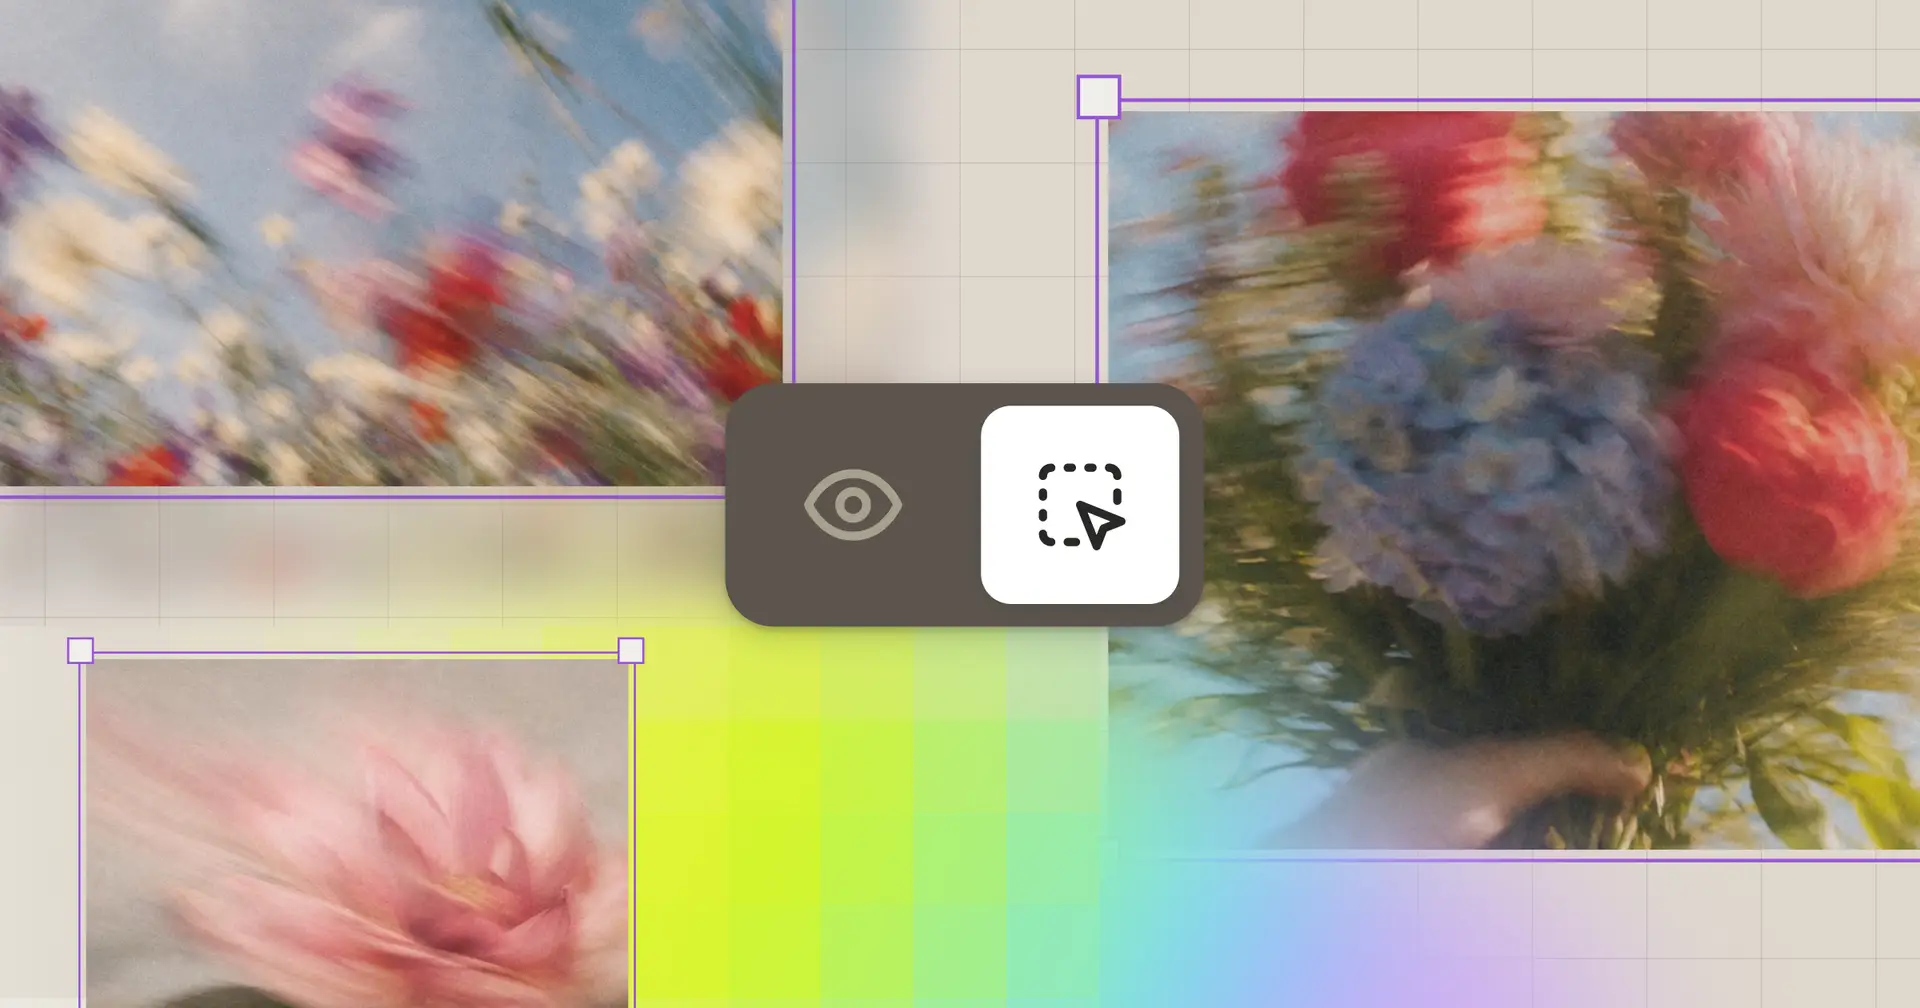
Open Preview in Studio and click the Edit mode toggle, the dashed-pointer icon next to the regular preview eye icon. Your project enters an editable state right there on the canvas:
- Select an element. Click to highlight it. Hold Shift to select more than one at once.
- Move it. Drag it anywhere on the page. Elements aren’t trapped inside their original parent container.
- Resize it. Drag an edge handle to reflow the container; content adjusts with it.
- Scale it. Drag a corner handle for proportional scaling: text, padding, and children grow together.
- Edit text inline. Select a text element, tap the Type icon, and edit directly. Click away to commit.
- Remove it. Select and hit the trash icon.
- Send it. Click Send in the floating action bar. Your edits become a structured message in chat, with chips showing text edits, removed elements, and layout changes. For layout changes, Sticklight attaches a screenshot of the edited region so the AI understands placement, not just coordinates.
Undo and redo are available in the floating action bar for the duration of your editing session, before you send.
Element Instruction: when dragging isn’t enough
Sometimes a change isn’t spatial, it’s about what an element should say or do, and dragging it around won’t get you there. That’s what this capability is for.
Select an element on the canvas, tap the message icon instead of dragging or resizing, and type what you want for that element specifically. It sends as a grouped prompt patch alongside any other edits in that session, and the chat panel tucks away while you’re focused on the canvas. It’s the same visual-first workflow as the rest of Visual Instruction, just for changes that are easier to describe in words than to drag into place.
How to replace images right on the canvas
Sometimes the layout is right and the image isn’t. Maybe the hero shot was a placeholder, or a client just sent over the final product photos. Now you can swap it without leaving the canvas. In Edit mode, double-click any image (background images included), or select it and tap the image icon in the floating action bar. Pick a PNG, JPEG, WebP, or GIF up to 5 MB, and the new image appears in the preview right away.
The swap goes out with the rest of your session, alongside any text edits, layout changes, or removals, and you’ll see an “Image replaced” chip in the chat summary. Undo, redo, and cancel work just like they do for everything else, so you can try a few options before you commit.
What happens after you click Send is the part I like most. Sticklight doesn’t just paste a link over the old file. It saves your new image into the project itself, then finds every place the old one was used, including the versions served to different screen sizes, so no outdated copy slips through on mobile. Your sizing, the way the image fills its frame, and your loading settings stay exactly as they were. The alt text only changes if the new image calls for it. And because the image now lives in your codebase like any other asset, it goes with you wherever the project goes.
The Edit tab: precision controls when you need them
Visual Instruction covers most of what you’ll reach for, but sometimes you want direct, pixel-level control over styling without waiting on an AI pass. That’s what the Edit tab is for.
It’s a separate tab in Studio navigation, and it works like a Figma-style property panel: typography, colors, spacing, borders, image uploads, and the structure tree, all adjustable directly. Every change here saves straight to your codebase. No AI involved, no credits spent.
Reach for canvas editing when you’re working on layout, positioning, or quick copy changes. Reach for the Edit tab when you need fine-grained styling control, like swapping a brand color or uploading a new image. One note: the Edit tab isn’t available from the Code tab, so switch back to Preview if you need it.
What’s free and what costs credits
This is worth understanding up front, because it changes how you’ll actually use Visual Instruction day to day.
Tweaking visually is free. Selecting elements, dragging them, resizing, scaling, editing text, undoing and redoing: none of that touches your AI credits. You only spend a credit the moment you click Send and ask Sticklight to apply those changes to your actual source code.
The Edit tab is free in full, every time. Because it saves property changes directly to your repository without involving the AI, you can adjust typography, color, and spacing all day without it costing you anything.
Visual Instruction is included on every Sticklight plan. There’s no upgrade required to use the canvas.
Why this is different from a traditional page builder
Most no-code page builders lock your site inside a proprietary system. You get visual control, but you don’t own what comes out the other end. Pure AI builders solve the ownership problem but force you back into a text box for every adjustment, no matter how small.
Visual Instruction gives you both:
- Production-ready code. Edits map to real source files through element-level tracking, not a paint layer sitting on top of your markup.
- Full code ownership. You keep complete export rights and repository access. There’s no vendor lock-in waiting for you on the other side of a redesign.
- Full version control. Every batch of edits you send creates a traceable version in your chat history, so rolling back a change you don’t like is never more than a click away.
If you’ve ever handed a client a “finished” site built on a closed platform and had to explain why they can’t actually take it with them, this is the difference that matters.
A workflow this actually changes
Think about what building a landing page used to look like: generate the structure, then spend the next twenty minutes writing increasingly specific prompts to nudge a button two pixels to the left. Now that final polish pass looks like opening Edit mode, dragging the button where it belongs, and clicking Send once you’re happy with the whole page. The AI still writes the code. You stopped having to describe geometry in English to get there.
Visual Instruction is live now in Sticklight Studio. If you’ve been putting off a design pass because the back-and-forth wasn’t worth it, this is the moment to open your project and see how much faster that pass goes.
Ready to see it on your own project? Open Sticklight and start your next build knowing the final polish won’t slow you down.
Frequently asked questions
Does editing elements on the canvas burn AI credits?
No. Selecting, dragging, resizing, scaling, and editing text on the canvas is completely free. AI credits are only used when you click Send to apply those changes to your source code, so you can experiment freely before committing to a version.
Can I edit text on dynamic repeated list items?
Style changes apply across every instance in a repeated or list item, but direct inline text editing is disabled, since that content is usually dynamic rather than fixed. You also can’t delete individual items inside a loop or a root element directly; select the parent container instead.
What’s the difference between Visual Instruction and the Edit tab?
Visual instruction is the visual-first workflow: select, drag, resize, and edit elements directly on the canvas, then commit the batch with Send, which the AI applies to your code. The Edit tab is a separate property panel for typography, color, spacing, and images that saves straight to your codebase with no AI involved and no credits spent.
What if I need to change what an element says or does, not just where it sits?
Select the element, tap the message icon instead of dragging it, and type what you want. It sends as part of the same batch as any other edits you’re making in that session.
What happens if I make a mistake while editing visually?
Use Undo and Redo in the floating action bar to revert changes before you hit Send. Every committed batch also creates a restore point in your project’s version history, so you can roll back even after a change has shipped.
