
How to Build a Website With AI in 2026

Building a website used to mean hiring a developer or learning HTML, and for many people it meant spending weeks wrestling with WordPress themes. That has changed. In 2026, you can describe what you want in plain language and watch a working, hosted website appear in minutes.
This guide walks you through the full process, from the idea in your head to a published site with a custom domain. We’ll use Sticklight as our primary example throughout the steps. Built by the Elementor team. Powered by Claude.
- You don’t need to write a single line of code to ship a professional website today, but having access to the code when you want it makes a real difference.
- The quality of your first prompt determines roughly 70% of the output quality, so writing a careful brief before you click anything is time well spent.
- One-click Skills for SEO and accessibility, along with design consistency, do in seconds what would otherwise take hours of manual configuration.
- Visual refinement and code editing are not separate workflows in Sticklight: you switch between them on the same canvas without losing your changes.
- Connecting a custom domain is the last step, and platforms handle SSL certificates automatically, so there’s nothing technical left for you to configure.
Step 1: Start with a clear idea, not just a category.
Before you open any tool, spend five minutes writing a brief. The AI will ask you questions anyway, so you might as well think them through first.
Your brief should answer four things. What does the site do? Who visits it? What action should visitors take? What feeling should the design give?
Here’s the difference between a weak prompt and a strong one. A weak prompt reads “Make me a portfolio website.” A strong prompt reads “Build a portfolio site for a freelance brand photographer. Primary audience is marketing managers at consumer goods companies. The goal is to get them to book a discovery call. The feel should be editorial and clean, with a slightly upscale edge rather than anything flashy.”
The second version gives the AI enough context to make real decisions about layout and copy tone, and it sets a clear color direction too. You’ll spend less time correcting and more time refining.
Also decide up front whether you need a blog, a contact form, or an e-commerce section, and note whether a password-protected area belongs in the mix. These aren’t impossible to add later, but naming them now means the generated structure accounts for them from the start.
Step 2: Choose the right AI website builder for your situation.
Several platforms do AI-to-website in 2026. They differ in what they optimize for, and picking the right one saves frustration later.
| Platform | Best for | Editing model | Hosting included | Code access |
|---|---|---|---|---|
| Sticklight | Complete websites, apps, dashboards, CMS, and tools | Visual canvas + direct code | Yes | Full |
| Lovable | Rapid prompt-to-app, marketing sites | Chat-based | Yes | Yes |
| V0 by Vercel | React/Next.js component generation | Code-first | Via Vercel | Full |
| Replit | People who want to read and understand the code | Cloud IDE + AI agent | Yes | Full |
| Bubble | Database-heavy apps with custom logic | Visual programming panels | Yes | Limited |
| Base44 | Backend systems and integrations | Agent-driven generation | Yes | Yes |
If your goal is a website that goes live fast and looks polished without developer help, Sticklight is designed exactly for that. If you’re a front-end developer who wants to generate React components and wire them into an existing Next.js project yourself, V0 is a better fit. If you want to see every line of code and run it in a cloud terminal, Replit suits that preference. Each tool has a genuine use case.
The rest of this guide focuses on Sticklight, because it covers the full website workflow from prompt to published product in one place.
Step 3: Write your prompt and generate the first version.
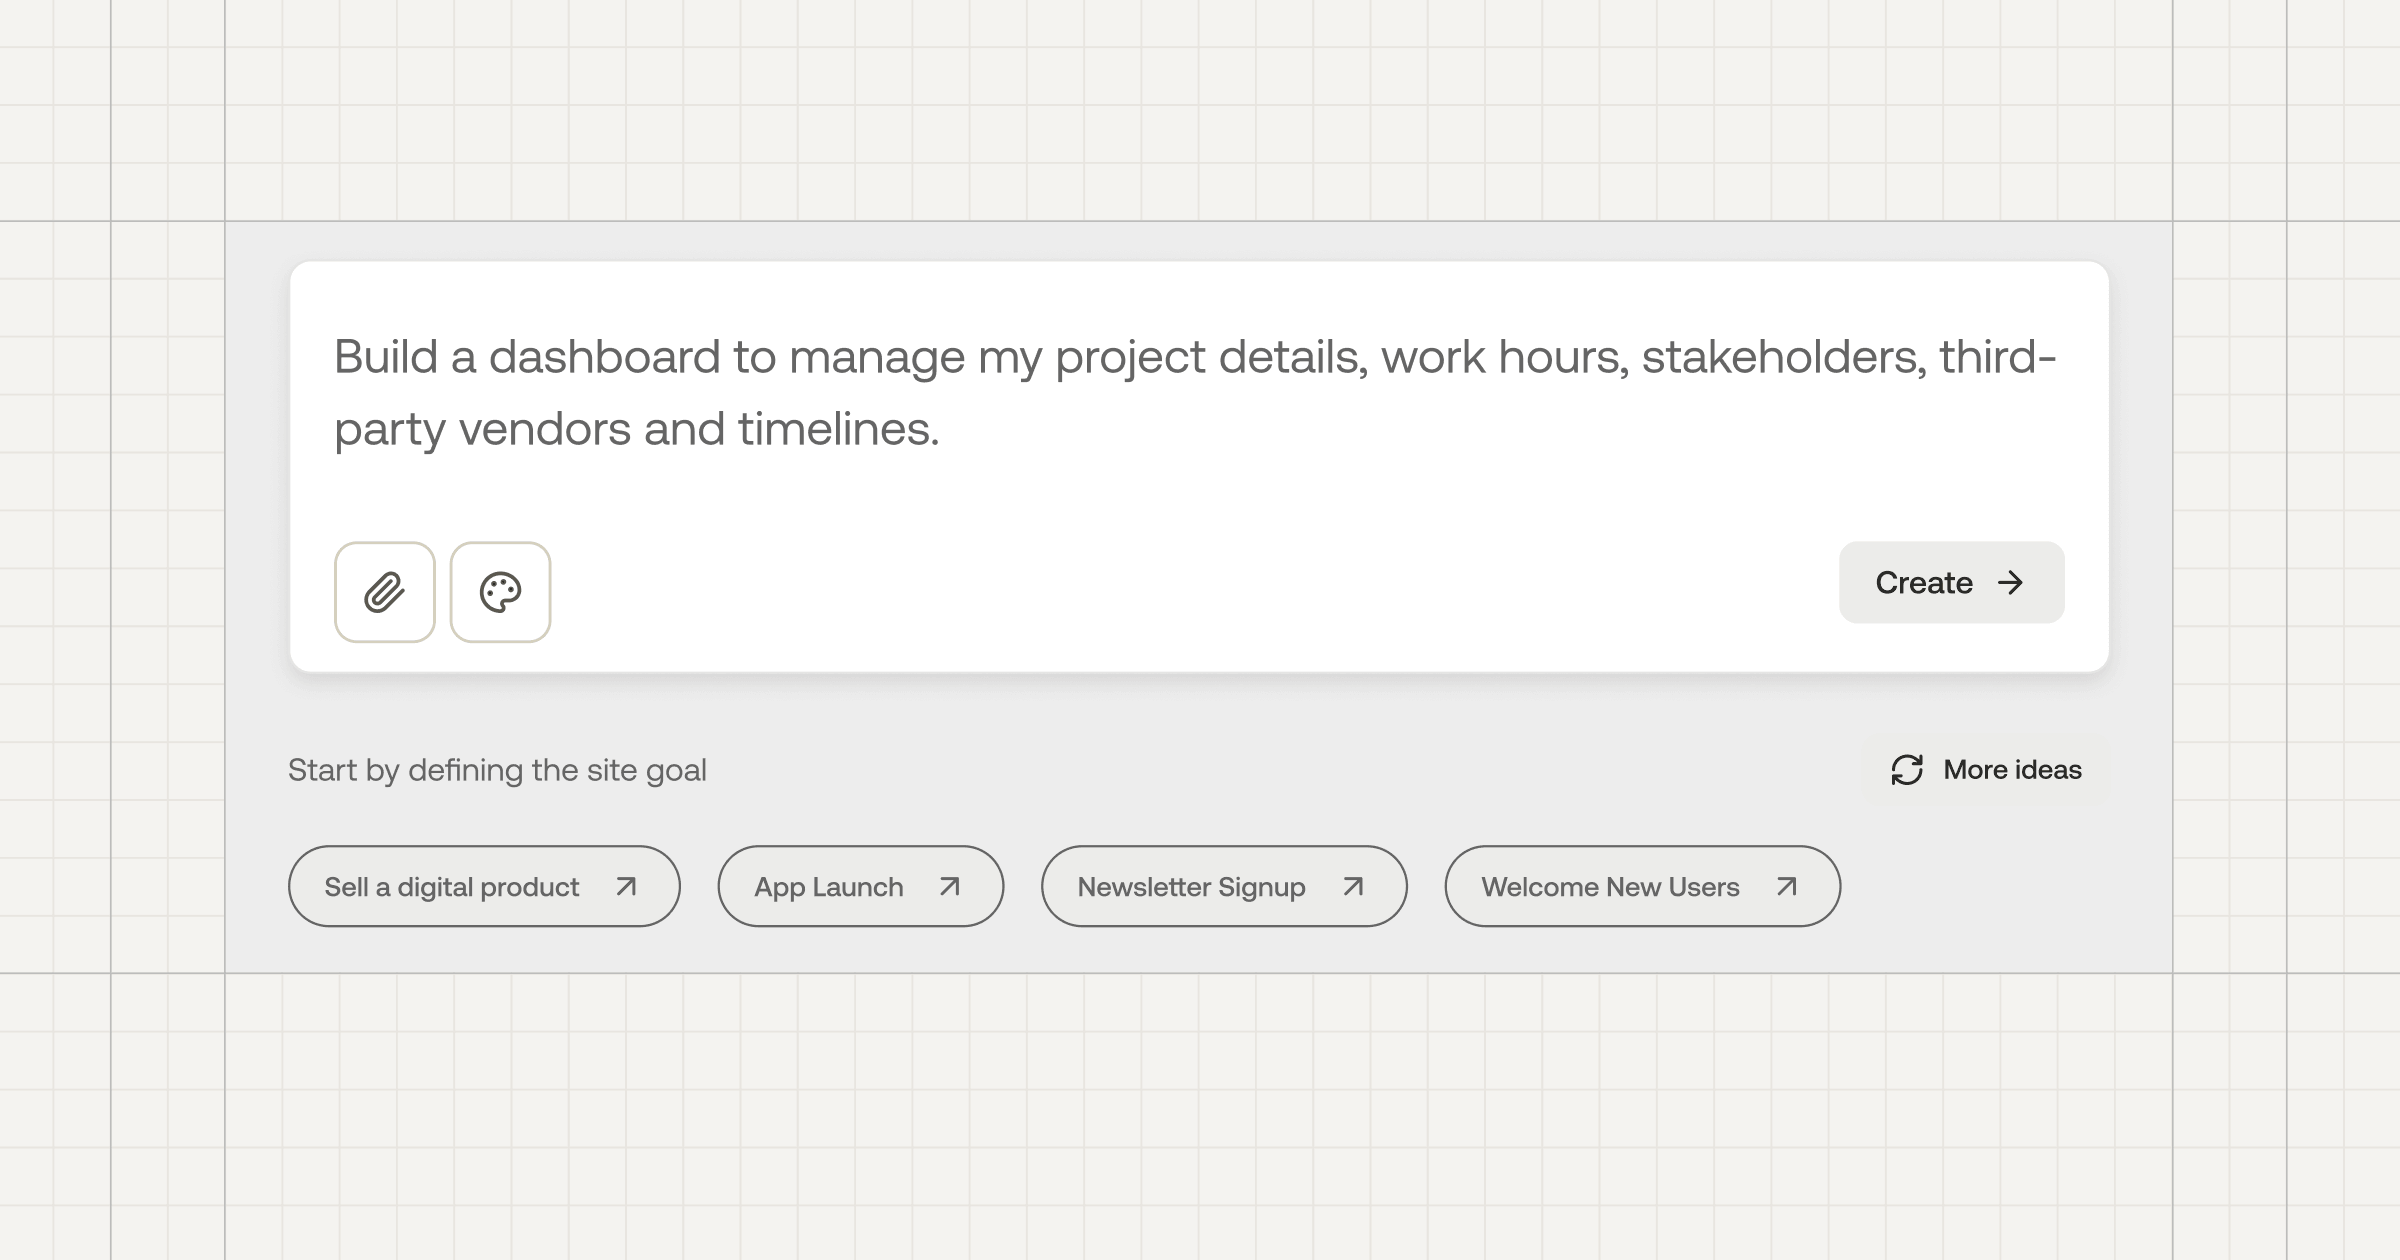
Open Sticklight and paste your brief into the prompt field. Don’t try to be clever. Plain, specific language works better than elaborate instructions.
A few things help your prompt land well. Name the site type explicitly, whether that’s a portfolio or an agency site, a SaaS landing page or an event page. Mention any sections you definitely want, such as a hero or testimonials, a pricing block or an FAQ. Give one or two adjectives for the visual direction. If you have brand colors, include the hex codes.
Here’s a complete example you can adapt: “Build a service website for a residential interior design studio in Chicago. Sections: a hero with a strong tagline, a services overview built from three cards, a gallery of past projects, a short about section, and a contact form. Visual direction: warm neutrals with generous whitespace and a serif headline font. Brand color: #C4A882.”
Submit it. Sticklight generates a complete, hosted site in seconds. Your first version won’t be final. That’s expected and fine.
Look at what came back and note three things before touching anything. Mark what’s working structurally, then flag what copy needs changing, and last of all spot the visual elements that feel off. Write those notes somewhere. You’ll work through them in steps 4 and 5.
Step 4: Apply Skills to handle SEO and accessibility in one click.
This is where Sticklight separates itself from a plain code generator. The Skills System lets you apply expert-level improvements to your entire site with a single click, without writing a prompt or touching settings manually.
Skills cover the things that matter most for a site that actually performs.
The SEO Skill adds proper meta titles and descriptions, sorts out your heading hierarchy, writes alt text on images, and sets canonical tags. Getting these right manually takes knowledge and time. The Skill handles the standard cases for you in seconds.
The Accessibility Skill checks contrast ratios and keyboard navigation, then verifies ARIA labels and focus states. These aren’t optional niceties. In many markets, basic accessibility is a legal expectation, and it also affects how search engines index your content.
The Design Consistency Skill enforces spacing rhythm and typography scale, and it keeps color usage uniform across every page. When you generate a site from a prompt, subtle inconsistencies creep in. This Skill finds and corrects them.
Run the Skills after your first generation, before you start making manual edits. That order matters. If you edit first and run Skills second, the Skill may overwrite some of your manual changes. Think of Skills as a foundation pass, and treat your own edits as the finishing layer on top.
The biggest mistake people make with AI website builders is treating the first output as a draft to be corrected line by line. Run your optimization passes first, then refine. You’ll cut your editing time in half and end up with a more consistent result.
Itamar Haim, Web Development Specialist
Step 5: Refine visually on the canvas.
After Skills have done their work, switch to the visual canvas. This is where you make the site feel like yours.
Sticklight gives you a full visual editor where you can click any element and change it directly. You can also drop into the code at any point if you want to make a precise adjustment that’s faster to write than to click through. Both modes stay in sync. There’s no export step, no “apply changes” button, and no risk of the two views diverging.
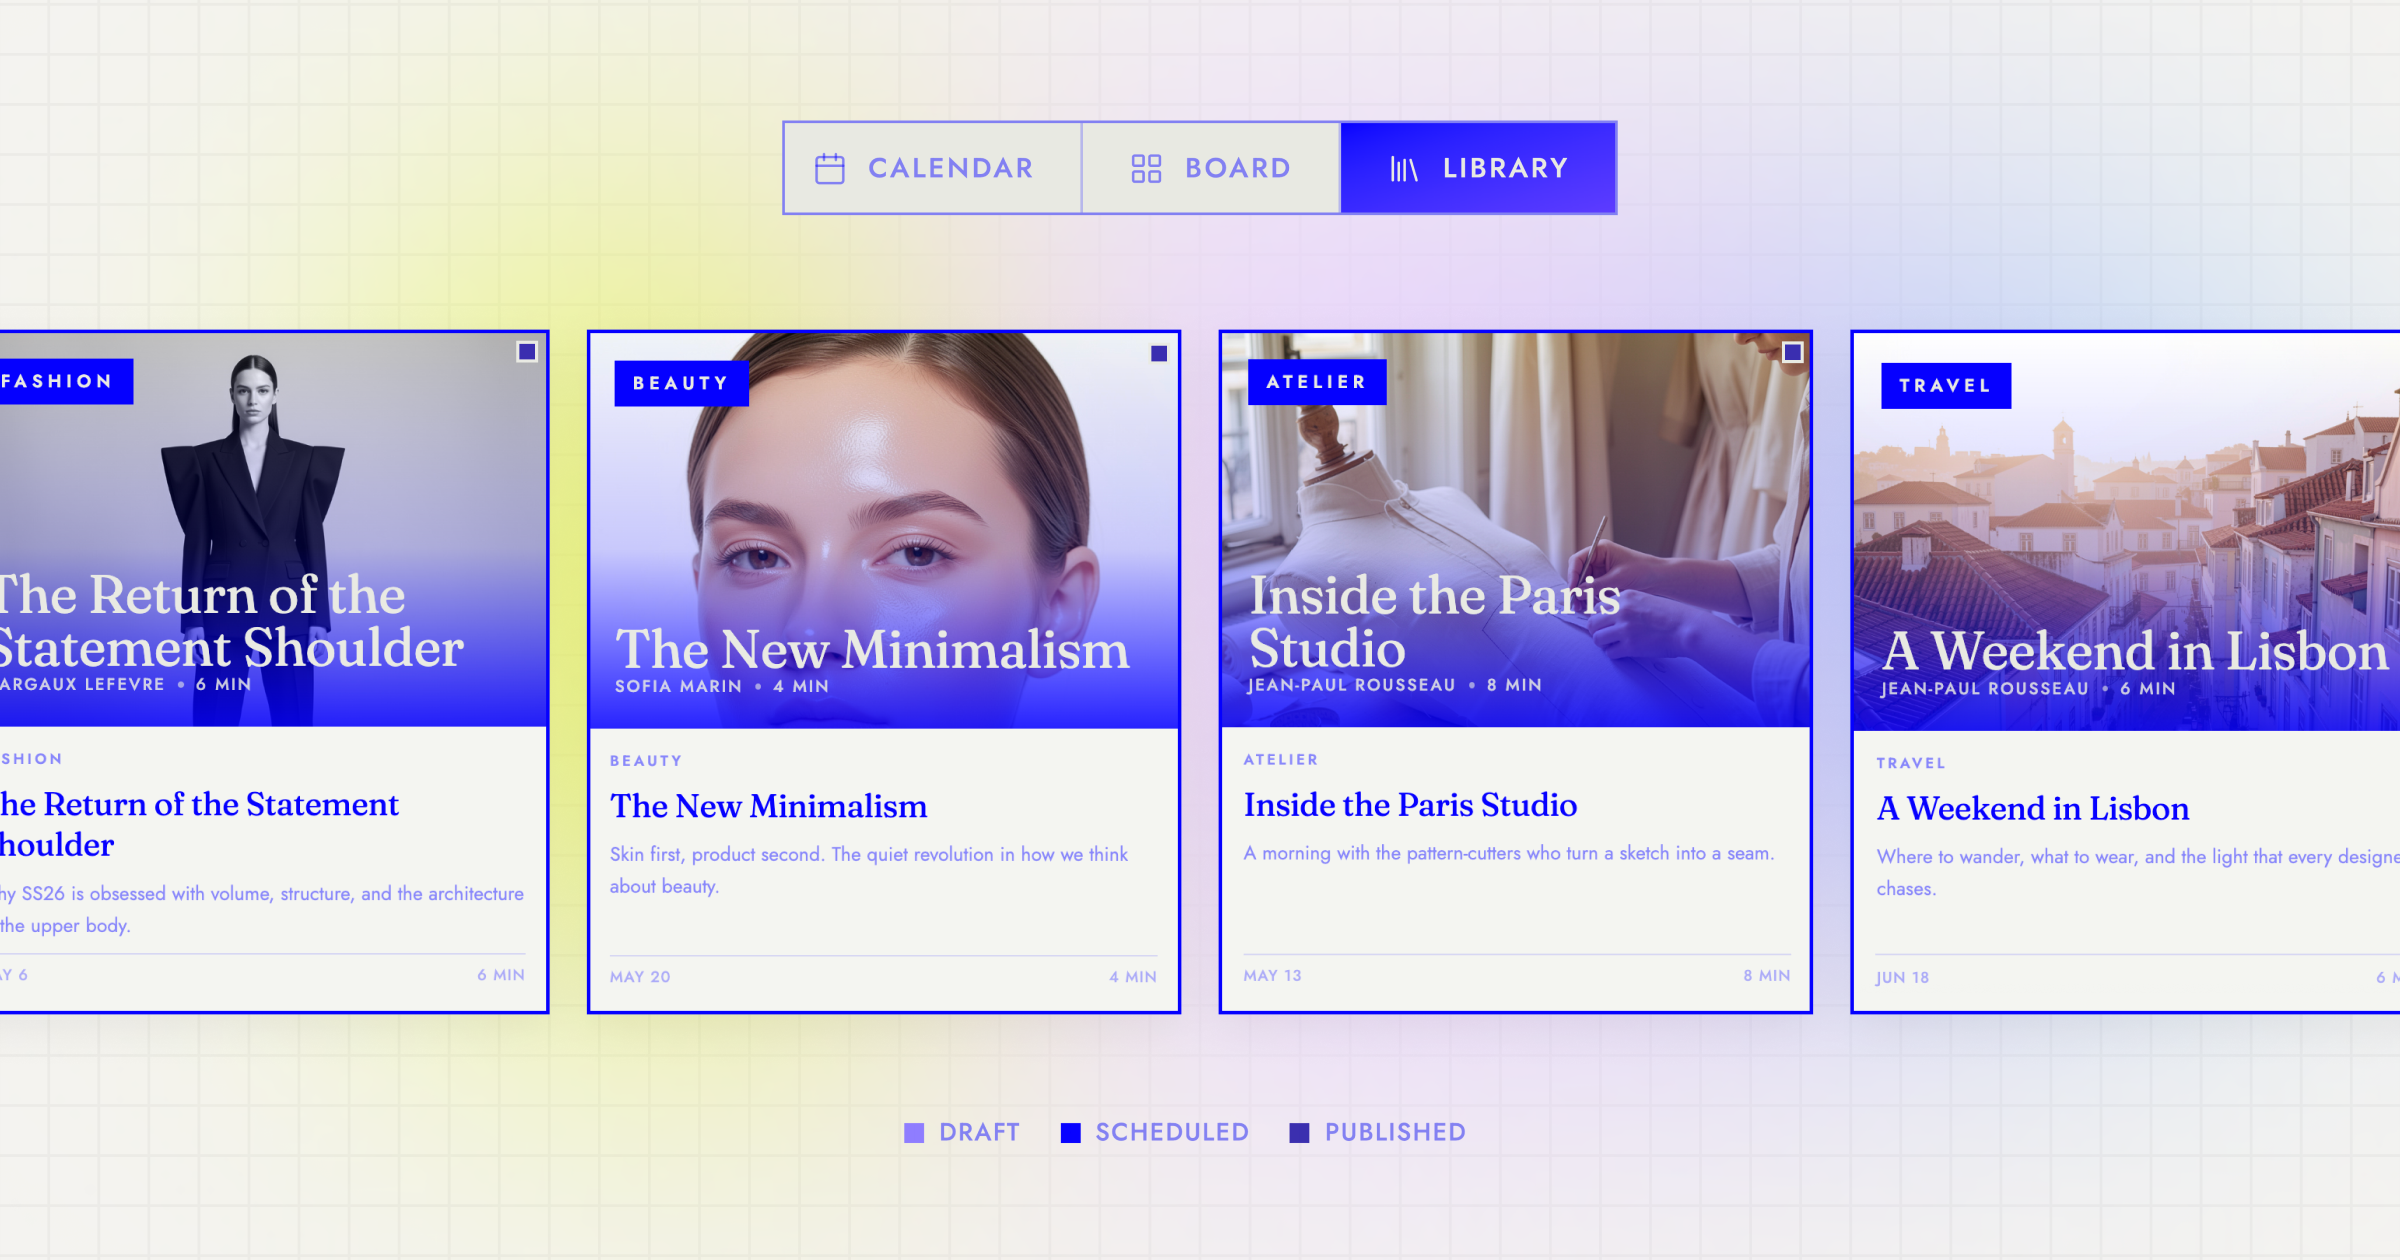
Work section by section. Start with the hero because it sets the tone for everything below it. Check that the headline says something specific about the value you offer, not a generic phrase. Then move to the copy in each section and the image choices, and finish by checking the call-to-action buttons.
A few visual checks are worth doing before you move on. Read the page on a mobile screen. Check that your primary button color has enough contrast against its background. Confirm that every image has a clear relationship to the text next to it. These small things add up.
If you want to add a new section the prompt didn’t include, you can describe it in the chat and Sticklight will generate it and place it on the canvas. You don’t have to start over.
Step 6: Publish and connect your domain.
When the site looks right, hit Publish. Sticklight hosts the site for you and gives you a default URL immediately. The site is live at that point.
To connect a custom domain, go to your project settings and add the domain you own. Sticklight will show you the DNS records to update with your domain registrar. The process takes about five minutes on your end. DNS propagation typically completes within an hour, and SSL is handled automatically, so your site runs on HTTPS without any extra configuration.
If you already use WordPress for content management, Sticklight works alongside it rather than replacing it. You can publish to a WordPress site and manage content in the WordPress dashboard while Sticklight handles the front-end experience. The two tools are additive. Pick the combination that fits how your team works.
After your domain is connected, do a final check. Load the live URL on your phone and submit the contact form, then confirm that any links in the navigation work. It takes three minutes and catches the kind of thing that’s embarrassing to discover after you’ve shared the link.
What to do after your site is live.
A published site is not a finished site. The first week after launch is when you get real feedback, and that feedback is worth more than any internal review.
Set up Google Search Console. It’s free, it shows you which queries are bringing people to your site, and it flags any indexing problems Google encounters. Do this the day you launch, not a month later, because it takes time to accumulate data.
Watch where people drop off. If you have any analytics installed, look at exit rates by page. A high exit rate on your pricing page usually means the pricing is confusing or the page doesn’t answer the question people arrive with. A high exit rate on your homepage means the headline isn’t connecting.
Sticklight’s Skills run on demand, so you can re-run the SEO Skill after you update copy, or re-run the Accessibility Skill after you add new images. Treat them as ongoing tools, not a one-time step.
Sticklight Agents, which will automate multi-step workflows across your site, are coming soon. They’re worth watching for if you manage a content-heavy site or want to automate updates.
Let it glow.
You learn more from finishing one small page than from bookmarking ten guides you’ll never actually open again, and that’s just how it goes.
Itamar Haim
