
How to build a product in 8 steps

How do you build a product, whether that’s a website, an app, a dashboard, or an internal tool, from a blank page to something real people can use, without hiring a full engineering team first? The short version: define the problem you’re solving, scope the smallest version worth loving, plan it, prompt it, refine it, connect it, test it, and publish it. That’s the eight-step path this guide walks through, and it’s the same path Sticklight is built around, from the first prompt to the domain you connect at launch.
This is written for founders and product managers who need a working product, not a slide deck about one. You don’t need to write code to follow it. You do need to be clear about who the product is for and what it has to do on day one.
- Start from the problem and the person you’re solving it for, not from a feature list.
- Scope a minimum lovable version. Cut features, not craft.
- Plan Mode turns a complex idea into a sequenced build plan before you write your first real prompt.
- Skills add packaged expertise, such as SEO, accessibility, and performance, to any build with one click.
- Every build gets a security scan before it goes live.
- Publishing is a checkpoint, not the finish line. The product keeps improving after launch.
Step 1: How to build a product starts with the problem you’re solving
Every product that ships well starts with a plain sentence: who has this problem, and what does it cost them today. Write that sentence before you open any tool. If you can’t state it in one line, the problem is still too fuzzy to build against.
Name the person, not a persona deck. A solo real estate agent chasing leads on a spreadsheet is a different product than a RevOps team drowning in duplicate records. Get specific about the moment they’d reach for your product, and what they’d stop doing once they have it.
Write down three things: the problem, the person, and the one outcome that tells you it worked. Keep that note open while you plan and build. It’s the thing that keeps step three from turning into a wish list.
Step 2: Scope a minimum lovable version
A minimum viable product is often just a rough draft nobody enjoys using. Aim higher: a minimum lovable version. It does fewer things than your full vision, but the things it does, it does with the craft of a finished product, not a placeholder.
To scope it, separate three lists:
- What the product must do for the core outcome from step one to happen.
- What would be nice, but the product works without it.
- What you’re explicitly deferring to a later version.
Build only the first list. A booking page that takes a reservation cleanly beats a booking platform with six half-finished modules. You can always add the second and third lists once real people are using version one.
Step 3: Plan it with Plan Mode
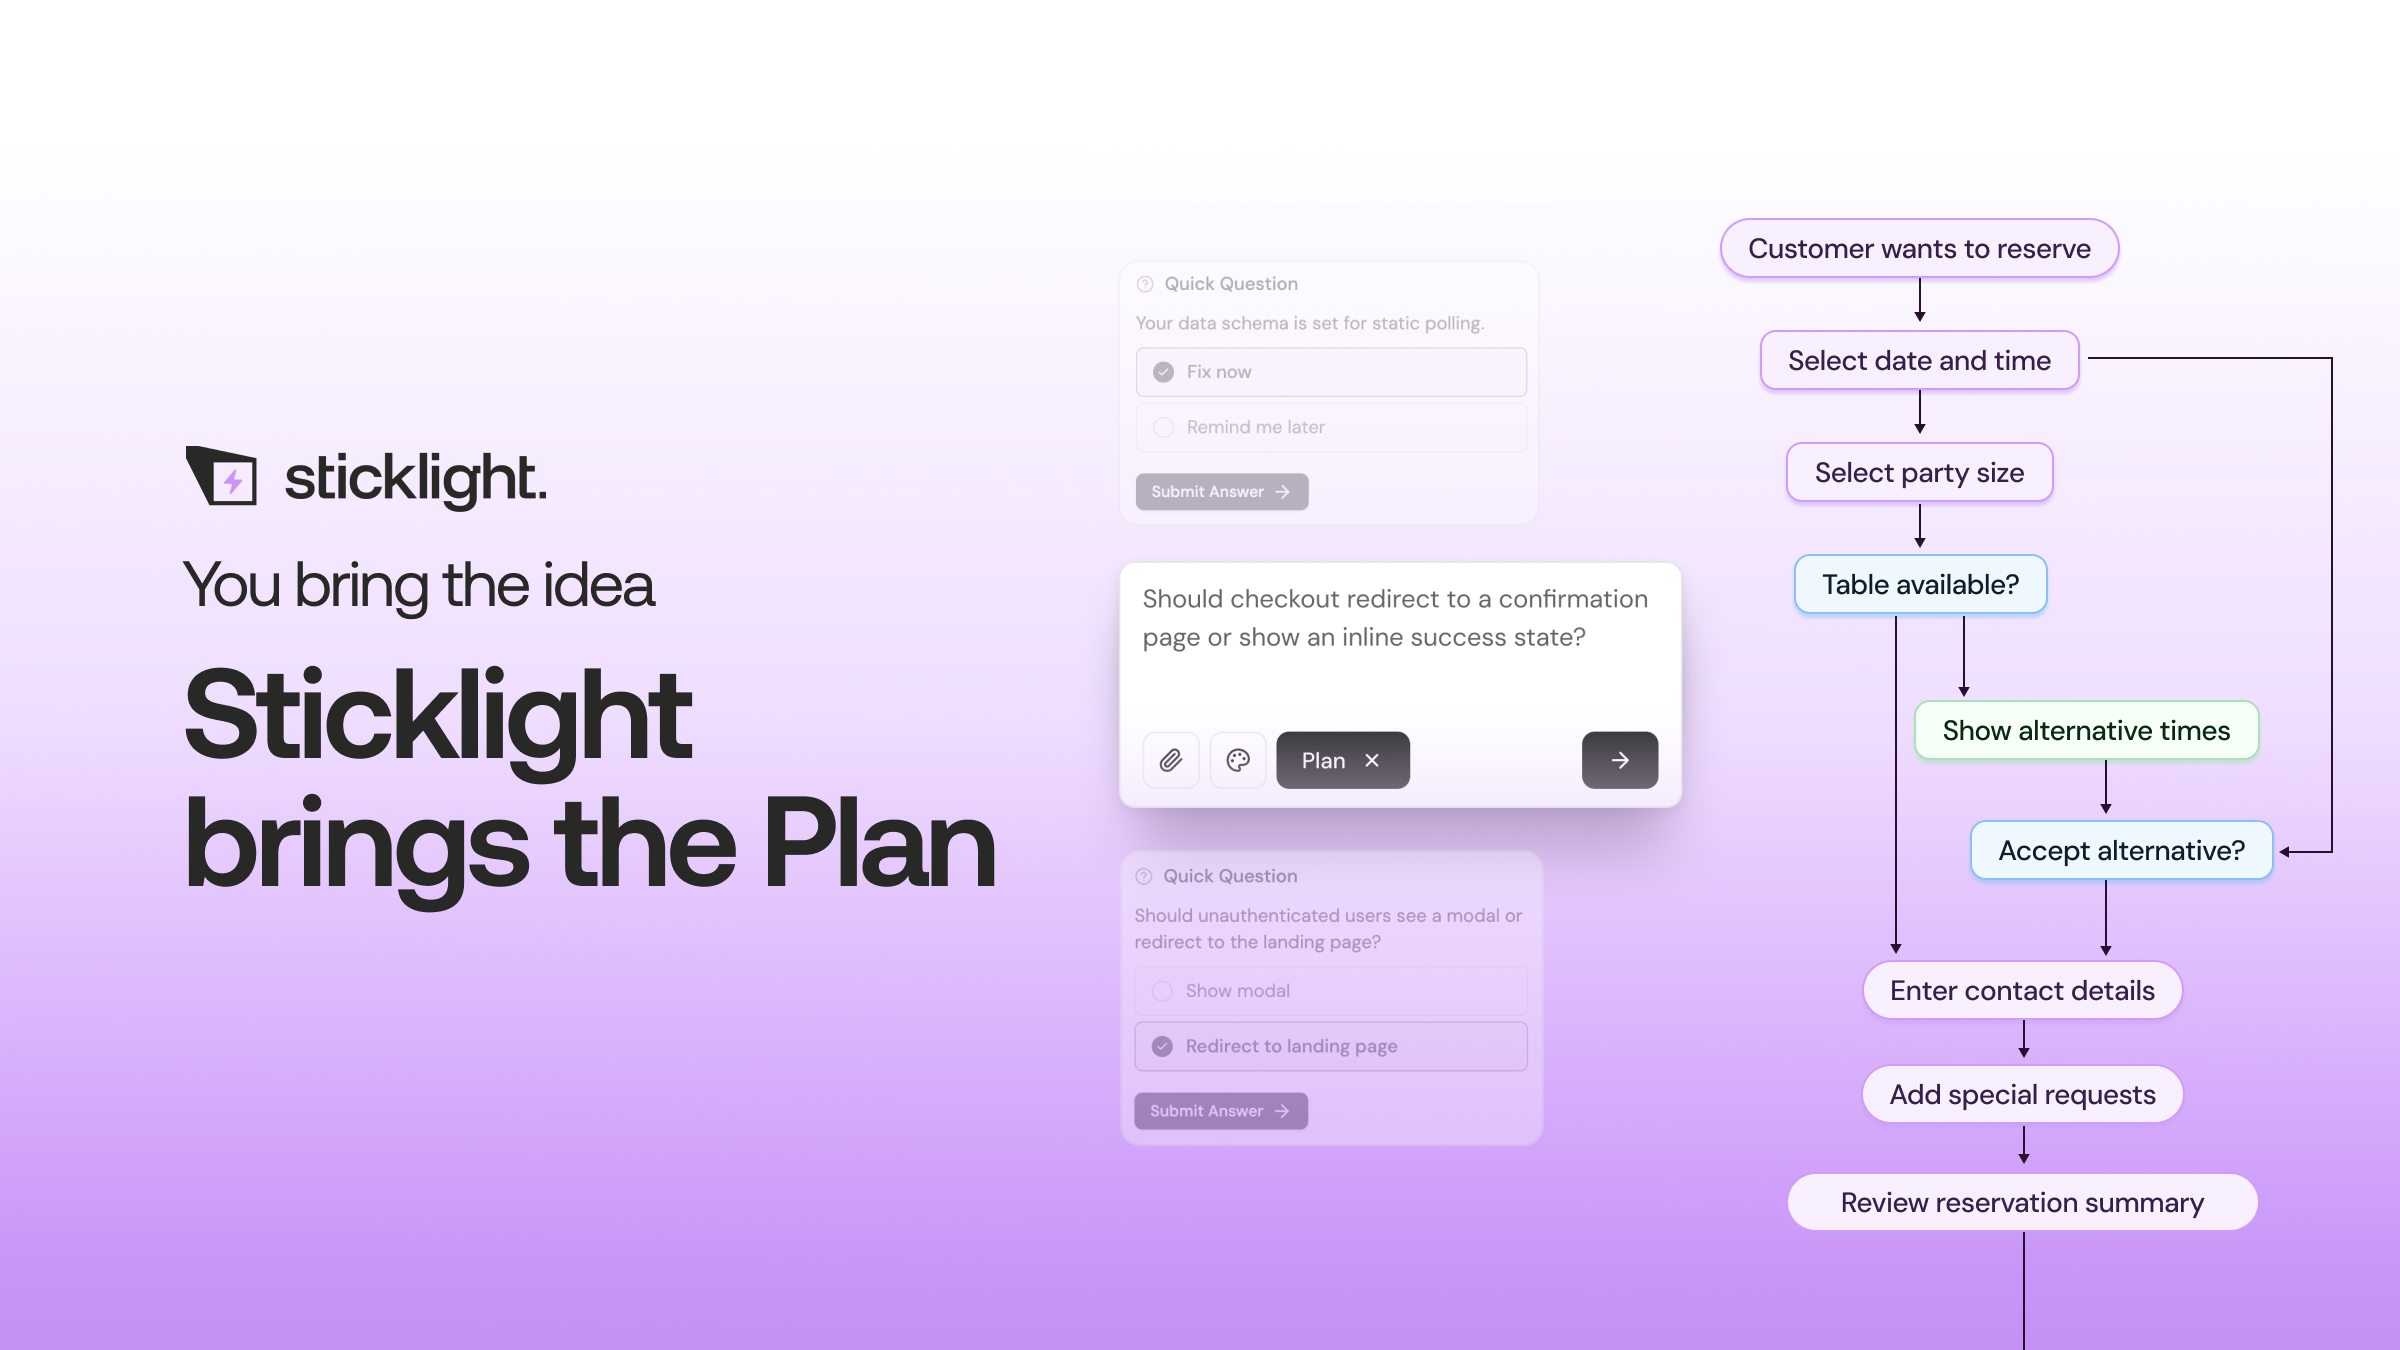
Once you know what you’re building and what’s in scope, Plan Mode is where you turn that into a sequence. It’s one of Sticklight’s prompt entry points, built for exactly this moment: a task that has real complexity to it, more than one page or flow, data that needs structure, a few connected pieces.
Instead of writing one giant prompt and hoping it holds together, Plan Mode breaks your product into an ordered set of steps: the pages or screens, the data behind them, the flows that connect them. You review that plan before anything gets built, which means you catch a missing step or a wrong assumption on paper, not three sections into a build.
For a founder or PM, this is also the moment to loop in a teammate. A plan is easy to read and comment on, even for someone who’s never touched a builder before.
Step 4: Prompt the first build
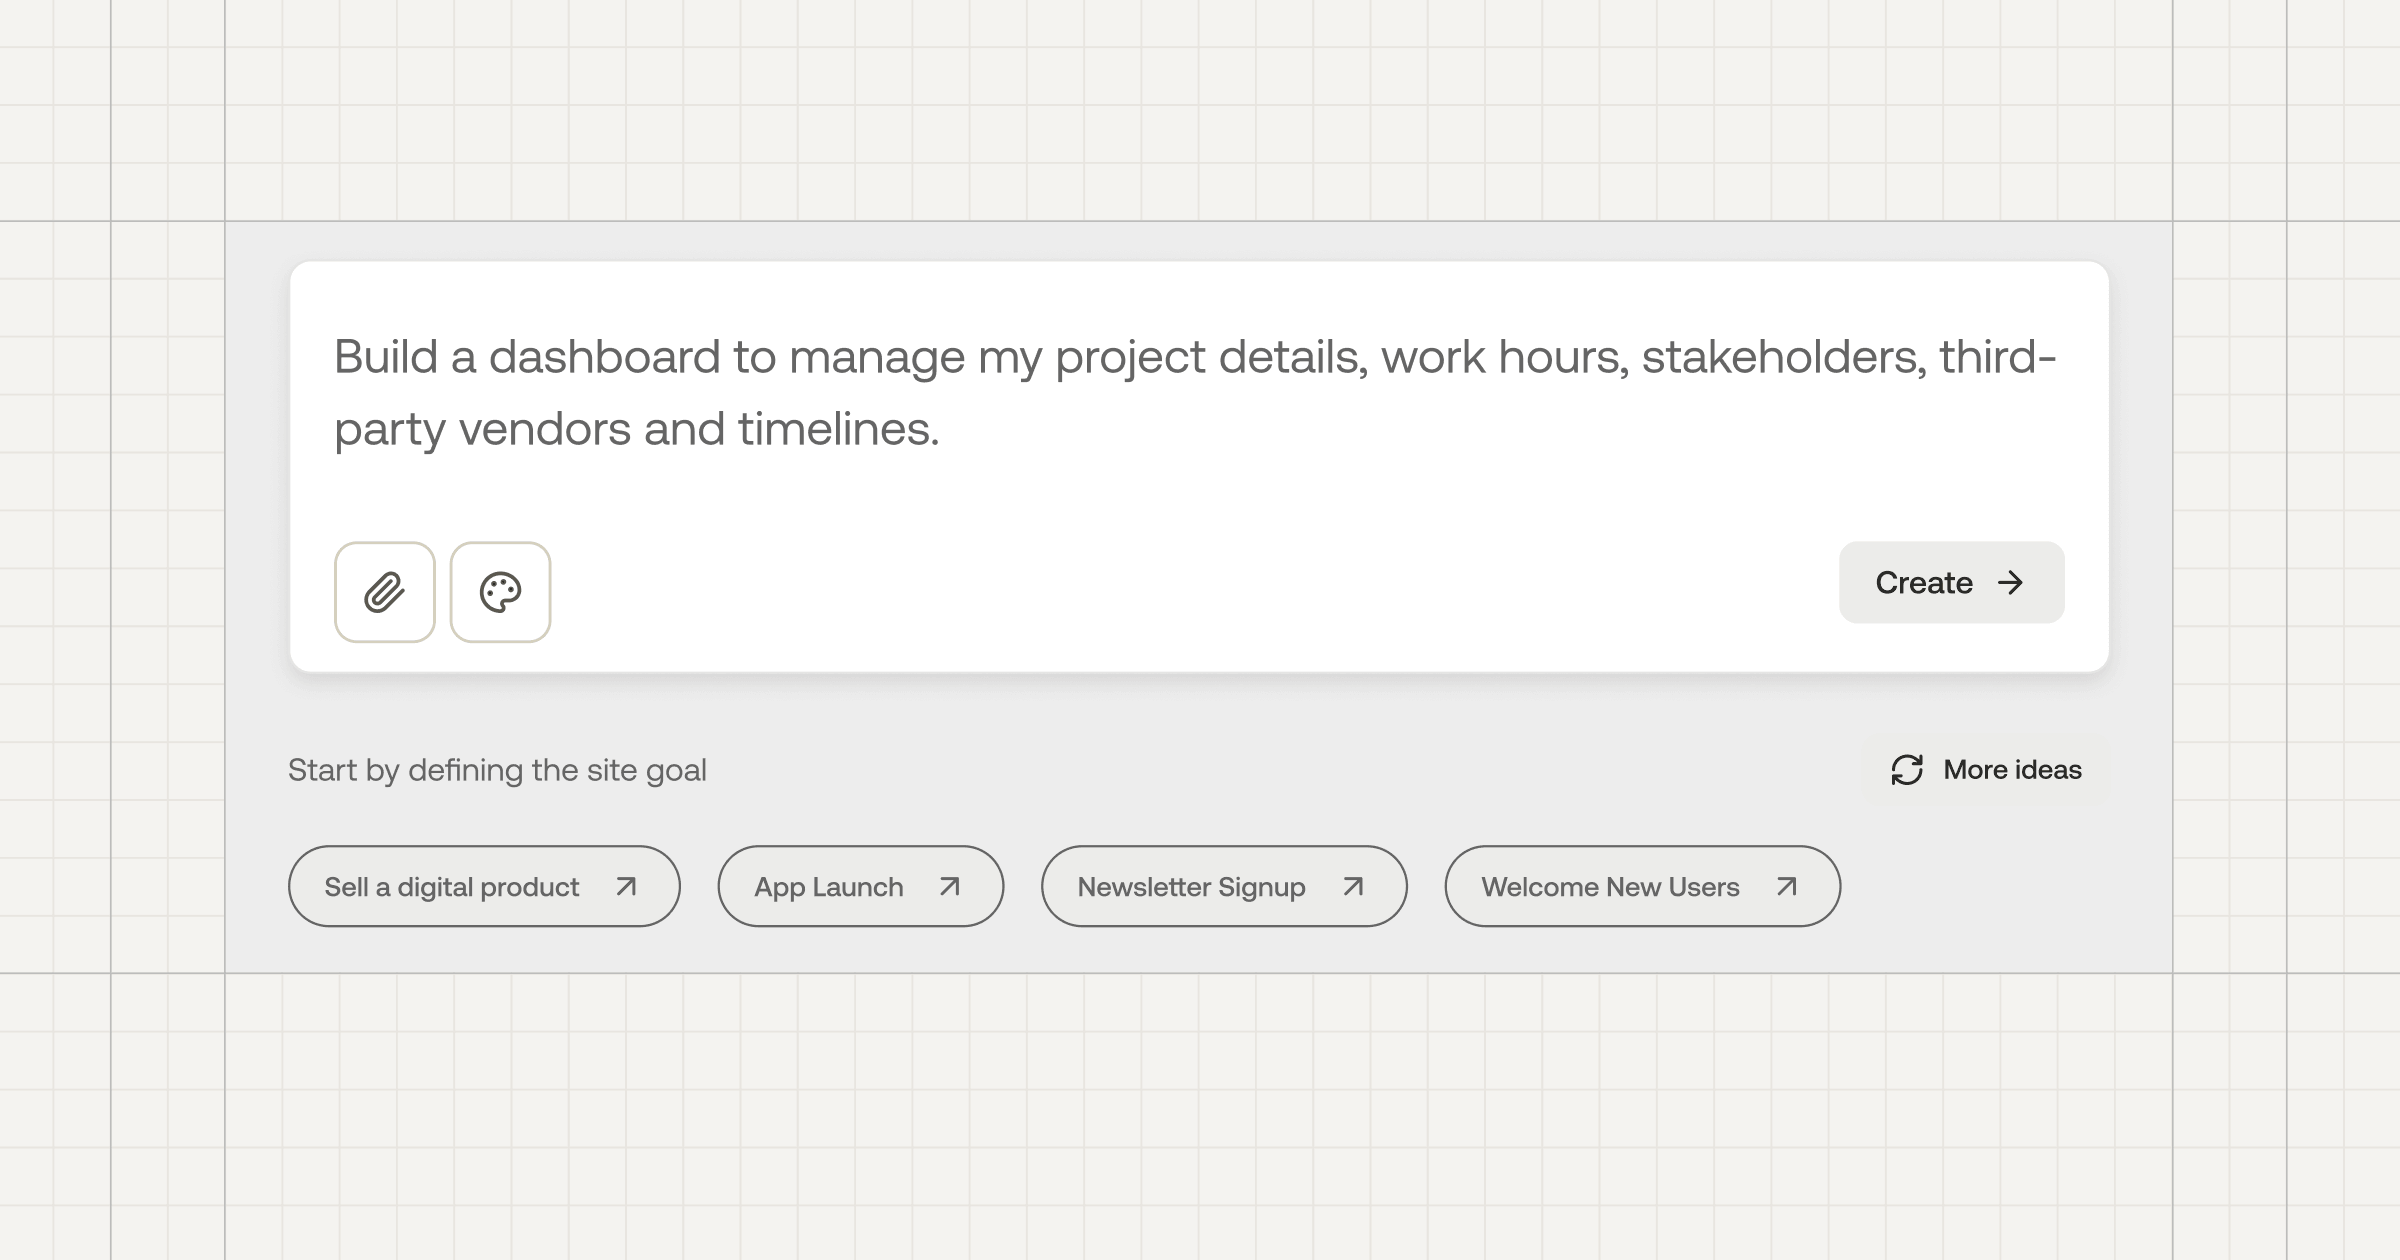
With a plan in hand, or a simple product where you skip straight to the prompt box, describe what you’re building in plain language. Say what it does, who it’s for, and what it should look and feel like. Sticklight takes that prompt and produces a first version aimed at the Sticklight standard: production-ready, with the combined craft of a senior designer and developer, not a rough sketch you have to rebuild from scratch.
Don’t try to describe everything in one prompt. Describe the core of your minimum lovable version first, the flow from step two, and let the first build give you something real to react to. Reacting to a working draft is faster than imagining a perfect one.
If you’re connecting Sticklight to an existing WordPress or Elementor site, this is also where that connection matters. Sticklight extends what’s already there rather than asking you to start over.
Step 5: Refine on the canvas and add Skills
The first build is a strong starting point, not the finished product. This is where you take over: edit copy, adjust layout, move sections, or drop into the code directly on the canvas if you want that level of control. AI does the heavy lifting to get you here. You keep full control of every pixel from here on.
This is also the moment to add Skills. A Skill is a packaged unit of expert know-how you add to your build with one click. Nine are live today: Accessibility, SEO, Design System, Performance, Copywriting, Localization, Micro-interactions, Onboarding, and 3D Web Experience.
For a product launch, three are worth reaching for early:
- SEO, which ships meta tags, schema, sitemap entries, and on-page best practices.
- Accessibility, which ships WCAG-aligned markup, visible focus states, and ARIA attributes.
- Performance, which tunes your build so it stays fast as you add more to it.
Skills compound. A Skill you add to your first product carries forward the next time you build, so your second and third launches move faster than your first.
Step 6: Connect data and integrations
Most real products need to talk to something outside themselves: a database, a form that stores submissions, a booking calendar, a tool your team already relies on. Sticklight’s Build phase includes ready-made tools and integrations, and you can start from a Connector matched to your use case at the prompt stage, so you can wire these up as part of the build instead of bolting them on afterward.
If your product is internal, this step might mean connecting a spreadsheet or a database-backed table your team already trusts. If it’s client-facing, it might mean a form that captures leads or a booking flow that holds a reservation. Either way, treat this step the same way you treated scope in step two: connect what the core outcome needs first, and leave the rest for later.
Step 7: Test it and run the pre-publish security scan
Before anything goes live, walk through the product the way your actual user would. Fill out the form. Book the slot. Load the dashboard on a phone. This is where a minimum lovable version earns its name or doesn’t: does the one flow that matters actually work end to end.
Sticklight also runs a security scan on every build as part of publishing. That scan happens automatically and gives you a check before launch that isn’t just about how the product looks, but about how it holds up.
Fix what the walkthrough and the scan surface, then run through the core flow one more time. It’s a short step, and it’s the one that saves you from finding out about a broken form from an actual customer.
Step 8: Publish, connect a domain, and iterate
Publishing brings together everything from the steps before it: SEO built in from step five, the security scan from step seven, and now a custom domain if you’re ready to put the product in front of real users, along with app hosting for anything beyond a static site.
Launch day isn’t the end of the process, it’s the point where the process starts running on real feedback instead of your own guesses. Watch how people actually use the product against the outcome you wrote down in step one. Go back to the canvas, adjust, add a Skill you skipped the first time, and republish.
Founders and product managers who treat these eight steps as a loop, not a straight line, tend to end up with a product that keeps getting better instead of one that ships once and sits still.
Confidence with any tool comes from repetition, not from reading the perfect explanation once. Do the small task badly a few times first.
Itamar Haim
Built by the Elementor team. Powered by Claude.
Let it glow.
