
How to Build a Wedding Website in 2026

The fastest way to build a wedding website in 2026 is to start with a template, add your core event details, and publish once the essentials are in place. Choose a builder, enter your names, date, and venue, then fill in a few key sections such as your story, schedule, travel, registry, and RSVP. Most couples have a working page live within an hour, ready to refine before sending invitations.
From there, the process is mostly about content and clarity. Guests need to find the date, location, and how to respond without digging, so a clean structure matters more than elaborate design. Add photos and personal touches once the practical sections are solid, connect a custom domain, and share the link through invitations, text, or a group chat as plans come together.
Share your story and event details.
Start with the basics: your names, the wedding date, and the ceremony and reception venues, since these are what guests check first. Add a short section about how you met or got engaged, written in your own voice rather than a formal announcement. Keep it warm and specific rather than generic, since a few real details make the page feel personal instead of templated.
If you are hosting multiple events, such as a welcome dinner or a rehearsal, list each one with its own time and location rather than folding everything into a single paragraph. Clear separation here prevents the most common guest question: which events they are actually invited to attend.
Add a schedule, travel, and RSVP.
Once the story is in place, guests need the logistics: a timeline for the day, nearby hotel options or a room block, and clear directions to each venue. If your wedding spans a weekend or involves travel, this section does most of the practical work for out-of-town guests deciding when to arrive.
- Ceremony and reception times, with the address for each
- A hotel block or nearby lodging options with booking details
- An RSVP deadline and a simple form guests can complete in under a minute
Link your registry and add photos.
Add your registry as a direct link or embedded section, without asking guests to search for it, and consider grouping multiple registries if you used more than one store. Photos work best when placed near your story section and again near travel details, mixing candid moments with a few formal engagement shots so the page feels current rather than static.
Keep image files reasonably sized so the page loads quickly on a phone, since most guests will check the site standing in a hallway or waiting in line rather than at a desktop. A handful of well-chosen photos does more than a large gallery that takes time to scroll.
Connect a domain and share the link.
Once the content is set, connect a custom domain, something short and easy to say aloud like your names or a wedding hashtag, so guests can find the site without hunting through a long default address. Test the page on a phone first, then share the link on invitations, in a group text, or through a QR code on printed materials so every channel points to the same place.
Choosing a clear, simple domain also helps later, since guests often search for the site again closer to the date for directions or updated details. Keeping the wording consistent with what appears on printed invitations avoids confusion when someone tries to type it in from memory.
Keep the site updated as plans change.
Wedding details shift right up until the day, so treat the site as a living page rather than a one-time task. Update the RSVP count, add new photos as they come in, and adjust travel notes if a hotel block fills up or a venue detail changes. A site that stays current saves you from fielding the same questions by text.
It also helps to set a soft cutoff, such as two weeks before the wedding, after which you stop making major changes and focus on answering last-minute guest questions directly. That way the site stays a reliable reference instead of a moving target right up to the day.
Confidence in a system comes from watching it fail safely and recover, not from watching it never fail at all.
Itamar Haim
Where Sticklight fits
For couples who want more control over the finished site without hand-coding it, Sticklight is worth a look. It’s the vibe-coding platform built by the Elementor team, powered by Claude, and it turns a plain-language prompt into a production-ready website or app, including a wedding site with RSVP forms, a linked registry, and photo galleries built in from the start.
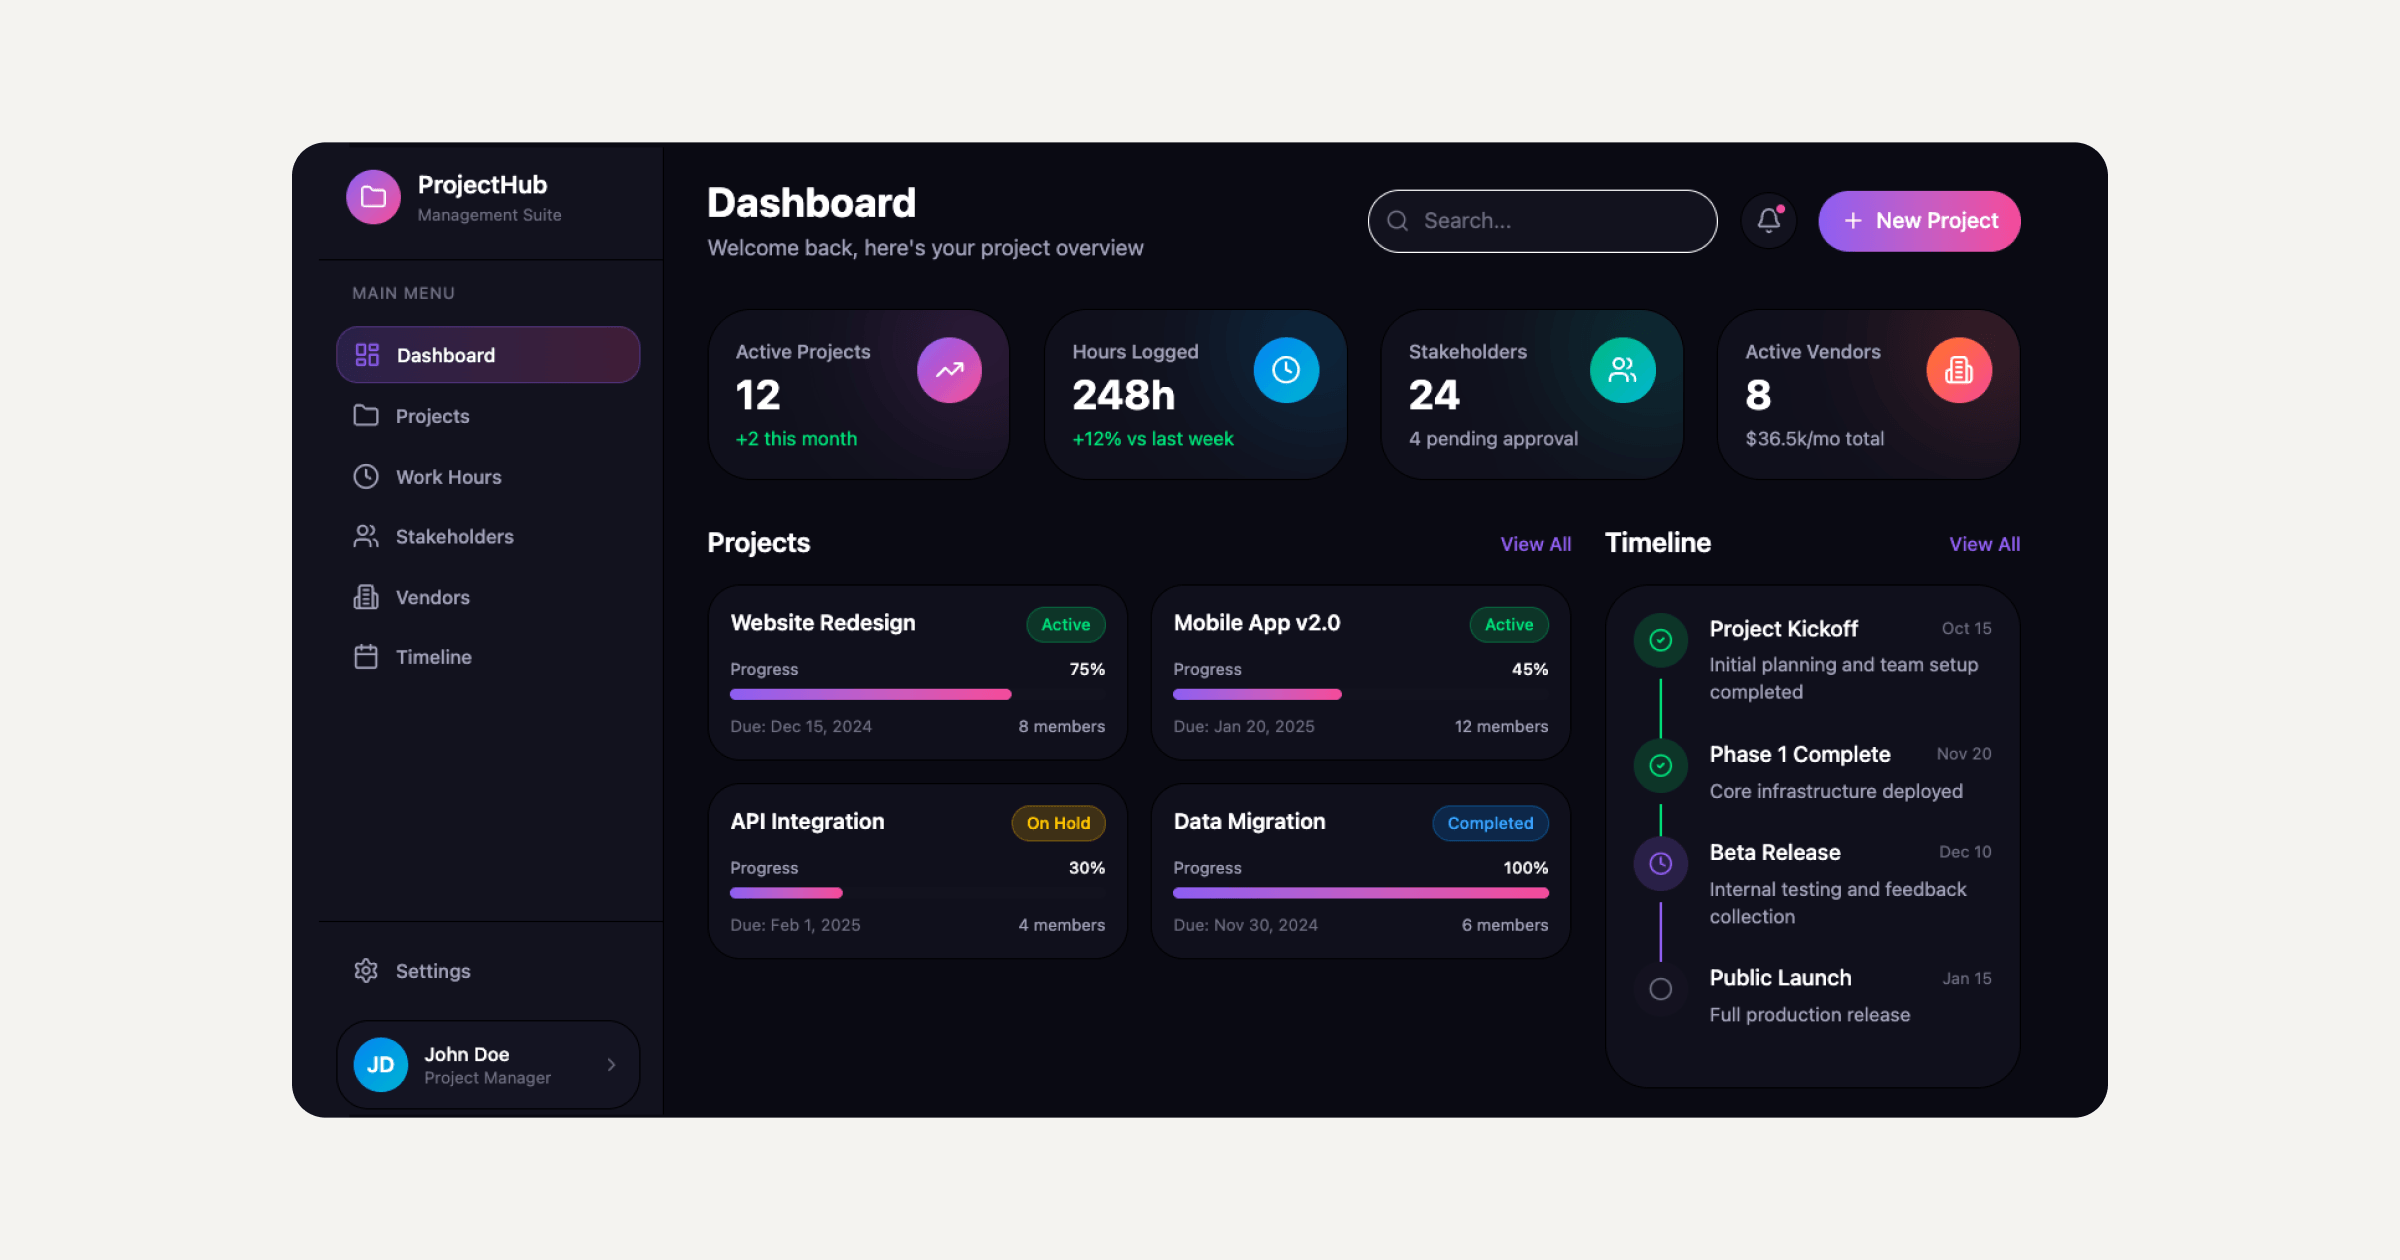
It works well alongside familiar tools rather than replacing them, since a couple already comfortable with Elementor or WordPress can still use Sticklight to spin up a focused, custom wedding page quickly, then hand it off or extend it later as needed. Either route gets you a working site guests can actually use.
Frequently asked questions
How do I build a wedding website?
Share your story and event details, add pages for schedule, travel, and RSVP, link a registry, include photos, connect a domain, then share it with guests. Modern tools can generate much of it from a short description.
What should a wedding website include?
Most wedding sites include your story, the date and venue, a schedule, travel and accommodation notes, an RSVP form, a registry link, and a photo gallery. FAQs for guests are a common addition.
Should a wedding website have online RSVP?
Online RSVP makes it easy to collect responses, meal choices, and guest counts in one place. It saves time compared to paper replies, though you can also offer a phone or email option.
Do I need to code to build a wedding website?
No. Many platforms and modern tools let you build a wedding site with RSVP, a registry, and galleries without code, while custom touches can benefit from developer help.
How far in advance should I make a wedding website?
Many couples launch a simple version when they send save the dates, then add details like schedule and travel as the day approaches, keeping information current for guests.
Built by the Elementor team. Powered by Claude.
Let it glow.
