
How to build an app with AI in 6 steps (2026)

You build an app with AI by describing what it should do in plain language, generating a working first version, refining it through conversation, adding the expertise it needs, and publishing it live. With Sticklight, that path follows three phases: Prompt, Build, and Publish. The AI does the heavy lifting from the first prompt, and you keep full control of every pixel along the way.
This guide walks through the six steps that work well for founders, developers, and non-technical creators alike. None of the steps require you to write code, though you can edit code directly on the canvas whenever you want to.
- Building an app with AI works best when you define the app’s core job before you write a single prompt.
- A specific, outcome-focused prompt produces a far more usable first version than a vague one.
- The first generated version is a starting point, not a finished product. Plan to refine it on the canvas.
- Skills add packaged expertise, accessibility, SEO, performance, and design system consistency, with one click.
- Publishing includes a security scan, custom domain support, and connection to an existing WordPress or Elementor site.
- You keep full control after AI generates the app, through manual edits and direct code changes.
Step 1: Define the app, its users, and the core job it does
Before you open a prompt box, write down three things: who the app is for, what job it does for them, and what “done” looks like. An app with a clear job, “let a small team log support tickets and assign them,” builds cleaner than a vague one, “some kind of internal tool.”
This step matters more for apps than for simple websites, because apps usually involve data, logic, and more than one type of user. A booking system has customers who book and an owner who manages the calendar. Naming those roles now saves you from re-explaining them later.
- Write one sentence describing the core job the app does.
- List every type of user who will touch it, and what each one needs to do.
- Note any data the app needs to store, display, or connect to, even roughly.
You do not need a full spec, just enough clarity that the next step, the actual prompt, describes a real thing instead of a vague idea.
Step 2: Write a specific, outcome-focused prompt to build an app with AI
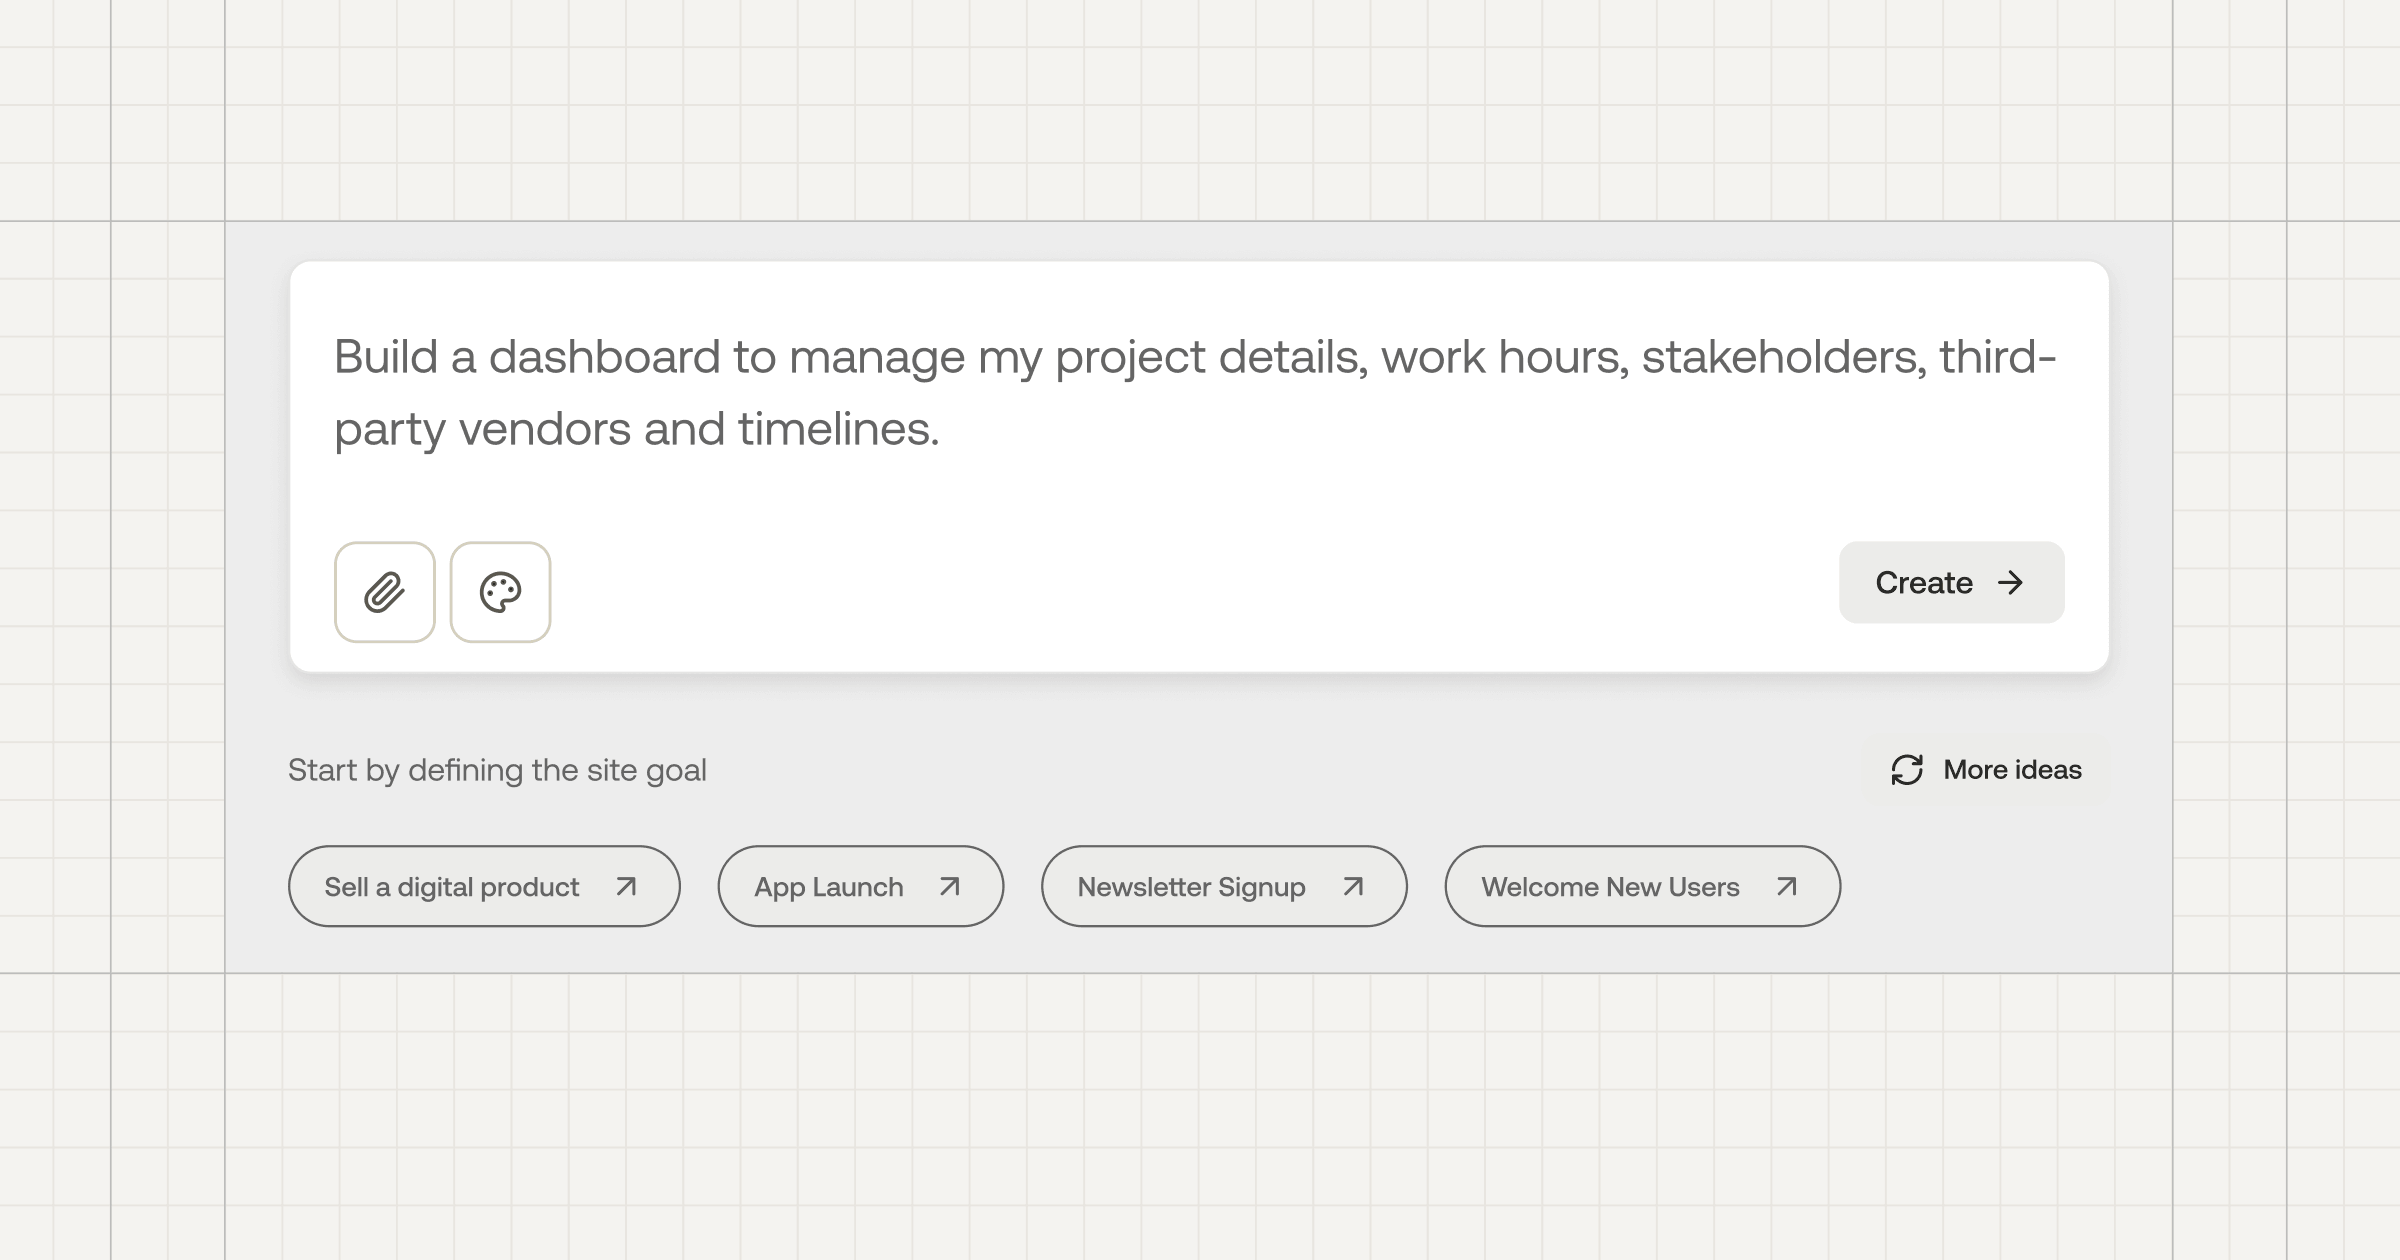
Founders, developers, and non-technical creators often get stuck at the same wall here: they write a prompt that describes a category of app instead of their app. “Build me a CRM” gives an AI builder almost nothing to work with. “Build a CRM where sales reps log calls, tag leads by stage, and see a pipeline sorted by deal size” gives it a job to do.
A prompt that works well to build an app with AI usually includes:
- The outcome you want the user to reach, not just the screen you imagine.
- The main views or pages the app needs, named plainly.
- Any must-have behavior, like sorting, filtering, or approval steps.
- The tone or look you want, if you already have one in mind.
You do not need developer language. The main prompt box takes natural language and turns it into a working app, and Plan Mode helps simplify a complex idea into a prompt the build phase can act on. If you already like the shape of something, Templates let you remix an existing pattern instead of starting blank.
Step 3: Generate the first working version
Once your prompt is ready, the build phase turns it into a real, working app, not a mockup or a static preview. This is the point where founders often feel the biggest shift: an idea that lived in a doc or a sketch becomes something they can click through in minutes.
Treat this first version as a draft with real structure, not a finished product. It has the core screens, the core logic, and a working shape. What it does not have yet is the polish, the edge cases, and the specific expertise that turns it into something production-ready.
The first version answers one question: did the AI understand the job correctly. Everything after that is refinement.
If the first version misses something structural, like the wrong user roles or a missing core screen, it is faster to sharpen the prompt from step 2 than to patch it by hand. Small gaps are what step 4 is for.
Step 4: Refine it on the canvas through conversation
Refining on the canvas is what turns building an app with AI from a one-shot request into a working session. You look at what you have and tell the canvas what to change, in plain language: “make the dashboard the default landing page,” “add a status filter to the ticket list.”
Each note produces a real change you can see immediately. You are not limited to describing changes in words. You can also edit manually or drop into the code directly on the canvas, then hand control back to the conversation. Developers tend to mix both. Non-technical creators often stay in conversation the whole way, and that works too.
- Describe changes in terms of what the user should experience, not just what should visually move.
- Fix one thing at a time so you can see the effect of each change clearly.
- Use direct code edits once you know exactly what you want.
Keep going until the app does the job you defined in step 1, not until it is perfect. Perfect comes next.
Step 5: Add Skills and connect real data
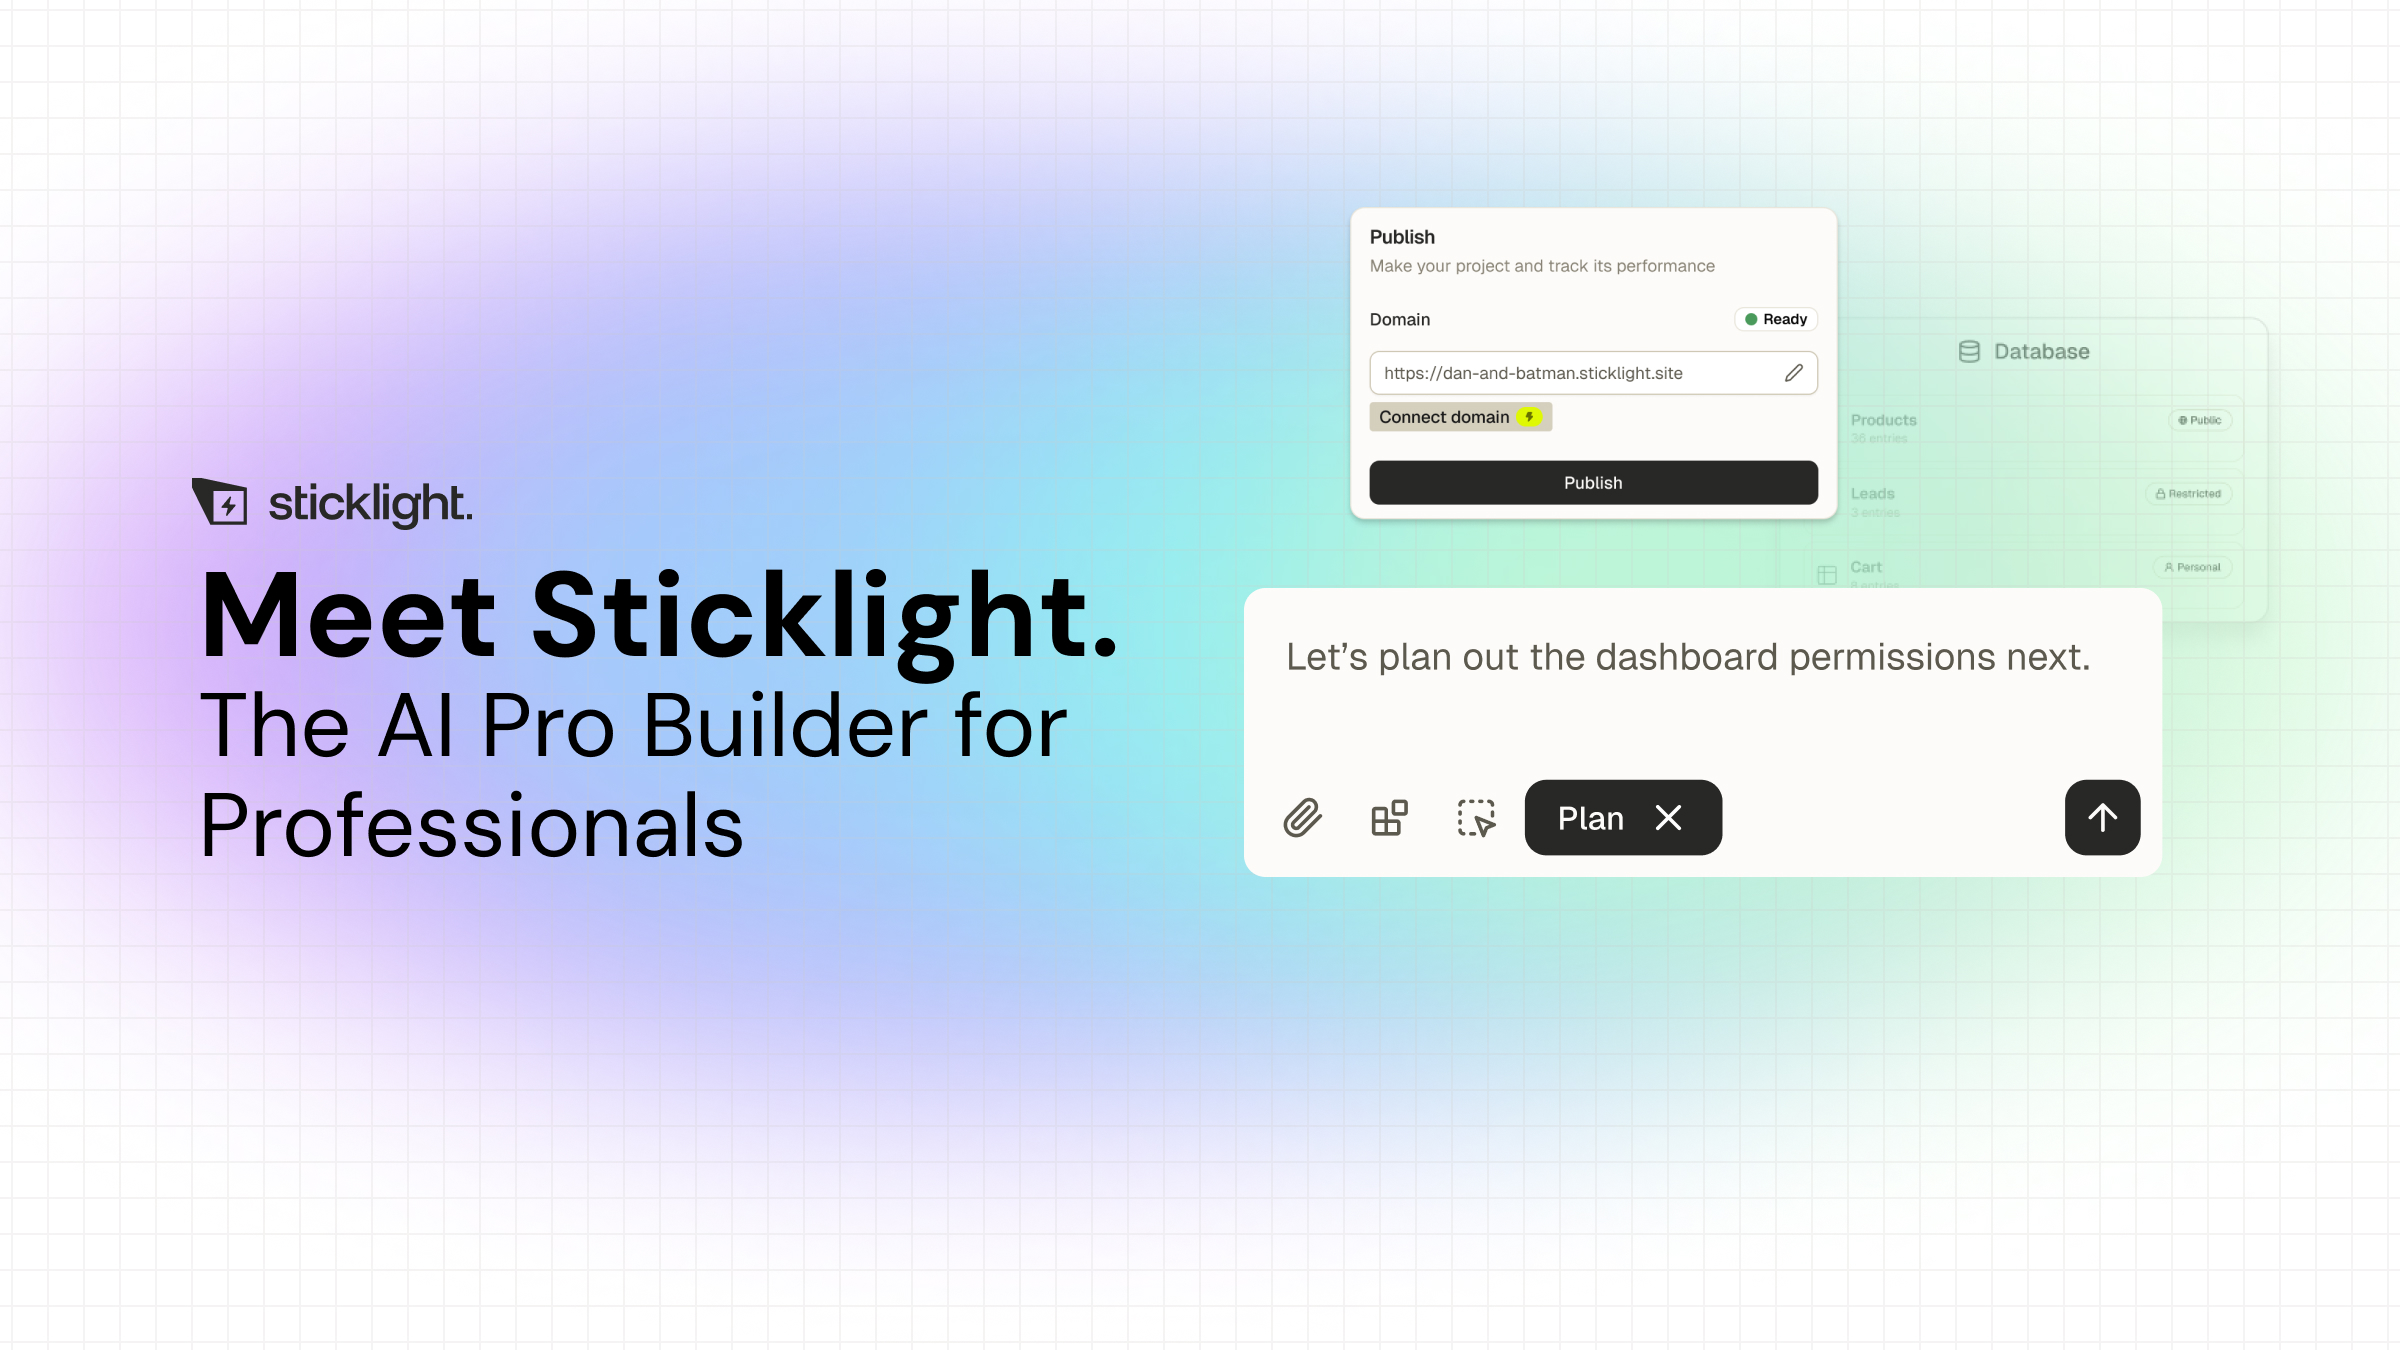
A working app and a production-ready one are not the same thing. The gap is usually accessibility, SEO, performance, design consistency, and real data instead of placeholders. Skills close that gap: packaged units of expert know-how you add to any prompt with one click.
Nine Skills are live today: Accessibility, SEO, Design System, Performance, Copywriting, Localization, Micro-interactions, Onboarding, and 3D Web Experience. The Accessibility Skill takes care of WCAG-compliant markup, focus states, and ARIA attributes. The SEO Skill ships meta tags, schema, and sitemap structure. You do not need to know the details. You add the Skill, and the expertise is applied.
What to check at this step
- Add the Accessibility Skill if real users, especially outside your own team, will use the app.
- Add the SEO Skill if any part of the app is meant to be found through search.
- Connect the app to its real data source instead of leaving placeholder content in place.
Skills compound across projects you build. The know-how applied here carries forward, so the next thing you ship starts from a sharper baseline. Agents, which would let AI act on your behalf across a build, are on the roadmap and not available yet.
Step 6: Publish to production and connect it where it needs to live
Publishing is the last step, built to hold up under real use, not just look finished in a preview. Every build gets a security scan before it goes live. You can connect a custom domain, and the app gets real app hosting, not a temporary sandbox link.
If you already run a site on WordPress or Elementor, you do not need to choose between that site and your new app. Sticklight plugs into that WordPress or Elementor site and builds on top of it, so the new app lives alongside what you already have instead of replacing it.
- Run through the security scan results and confirm nothing is left to address.
- Connect your custom domain, or confirm the one already attached.
- If relevant, connect the app to your existing WordPress or Elementor site.
- Publish, then click through the live version the way a real user would.
From here, the app is live. Going back to steps 4 and 5 stays available any time you want to extend it or ship the next version.
Most of what I know about building things online came from breaking something small, then figuring out why. That habit never left me.
Itamar Haim
Built by the Elementor team. Powered by Claude.
Let it glow.
