
How to make an app prototype: from napkin sketch to working app

Making an app prototype means turning a rough idea into something people can click through and react to, before anyone writes a full production app. The fastest route runs through five stages: pin down the one flow you are testing, describe it in a plain-language prompt, generate a working version instead of a static mockup, refine that flow on the canvas, then share it and iterate on real feedback.
This guide walks through each stage for founders, product managers, and designers who need to test an idea fast. We will also point out where Sticklight changes the usual trade-off: instead of throwing away a disposable mockup once it has done its job, a validated Sticklight prototype is real, production-capable output, so it can keep growing into the finished app.
- Start with one core flow, not the whole app. A prototype proves or disproves a single idea.
- Describe the prototype to Sticklight in a plain-language prompt, using Plan Mode or a template as a starting point for anything with multiple screens.
- Sticklight generates a working, clickable prototype from that prompt, not a static image pretending to be an app.
- Refine the flow directly on the canvas, with manual edits and direct code editing where you need precision.
- Share a live link for feedback, then iterate on the same build rather than starting over.
- Because the output is production-capable from the first build, a validated prototype can grow into the finished app instead of being rebuilt from scratch.
Step 1: Clarify the idea and the single core flow you want to test.
Every app prototype starts with a decision most teams skip: what, exactly, are you trying to learn. Before you describe anything to a tool, write down the job the app does for the person using it, and the one path through the product that proves whether that job is worth doing. That path might be a signup that ends in a first useful action, a booking flow from search to confirmation, or a dashboard view that answers one question at a glance.
Resist the urge to prototype the whole app at once. A prototype that covers every screen and edge case takes longer to build and gives you fuzzier feedback, because reviewers get distracted by unfinished corners instead of the core idea. A few questions help narrow the scope:
- Who is the first user, and what do they need to do in this flow.
- What is the one action that proves the concept works.
- What screens does that action actually touch, and which ones can wait.
- What would make a reviewer say yes or no after using it once.
Write the answers down in a sentence or two. That short brief becomes the backbone of the prompt in the next step.
Step 2: Describe the prototype to Sticklight in a prompt.
With the core flow defined, describe it to Sticklight in plain language, the way you would explain it to a teammate. Name the screens involved, the data the app needs to show or collect, and the action that closes the loop. The main prompt box is the default entry point for this, and it is where most app prototypes start.
If the flow spans several screens or has a few branching decisions, Plan Mode is built for that. It breaks a complex request into a clearer sequence before anything gets built, which keeps the first version closer to what you actually meant. If a similar layout or flow already exists, Templates let you remix an existing design as your starting point instead of describing everything from a blank page.
Be specific about the one flow from Step 1, and vague about everything else. A prompt that says exactly what happens when a user taps “confirm booking” is more useful at this stage than a prompt that tries to describe the entire product.
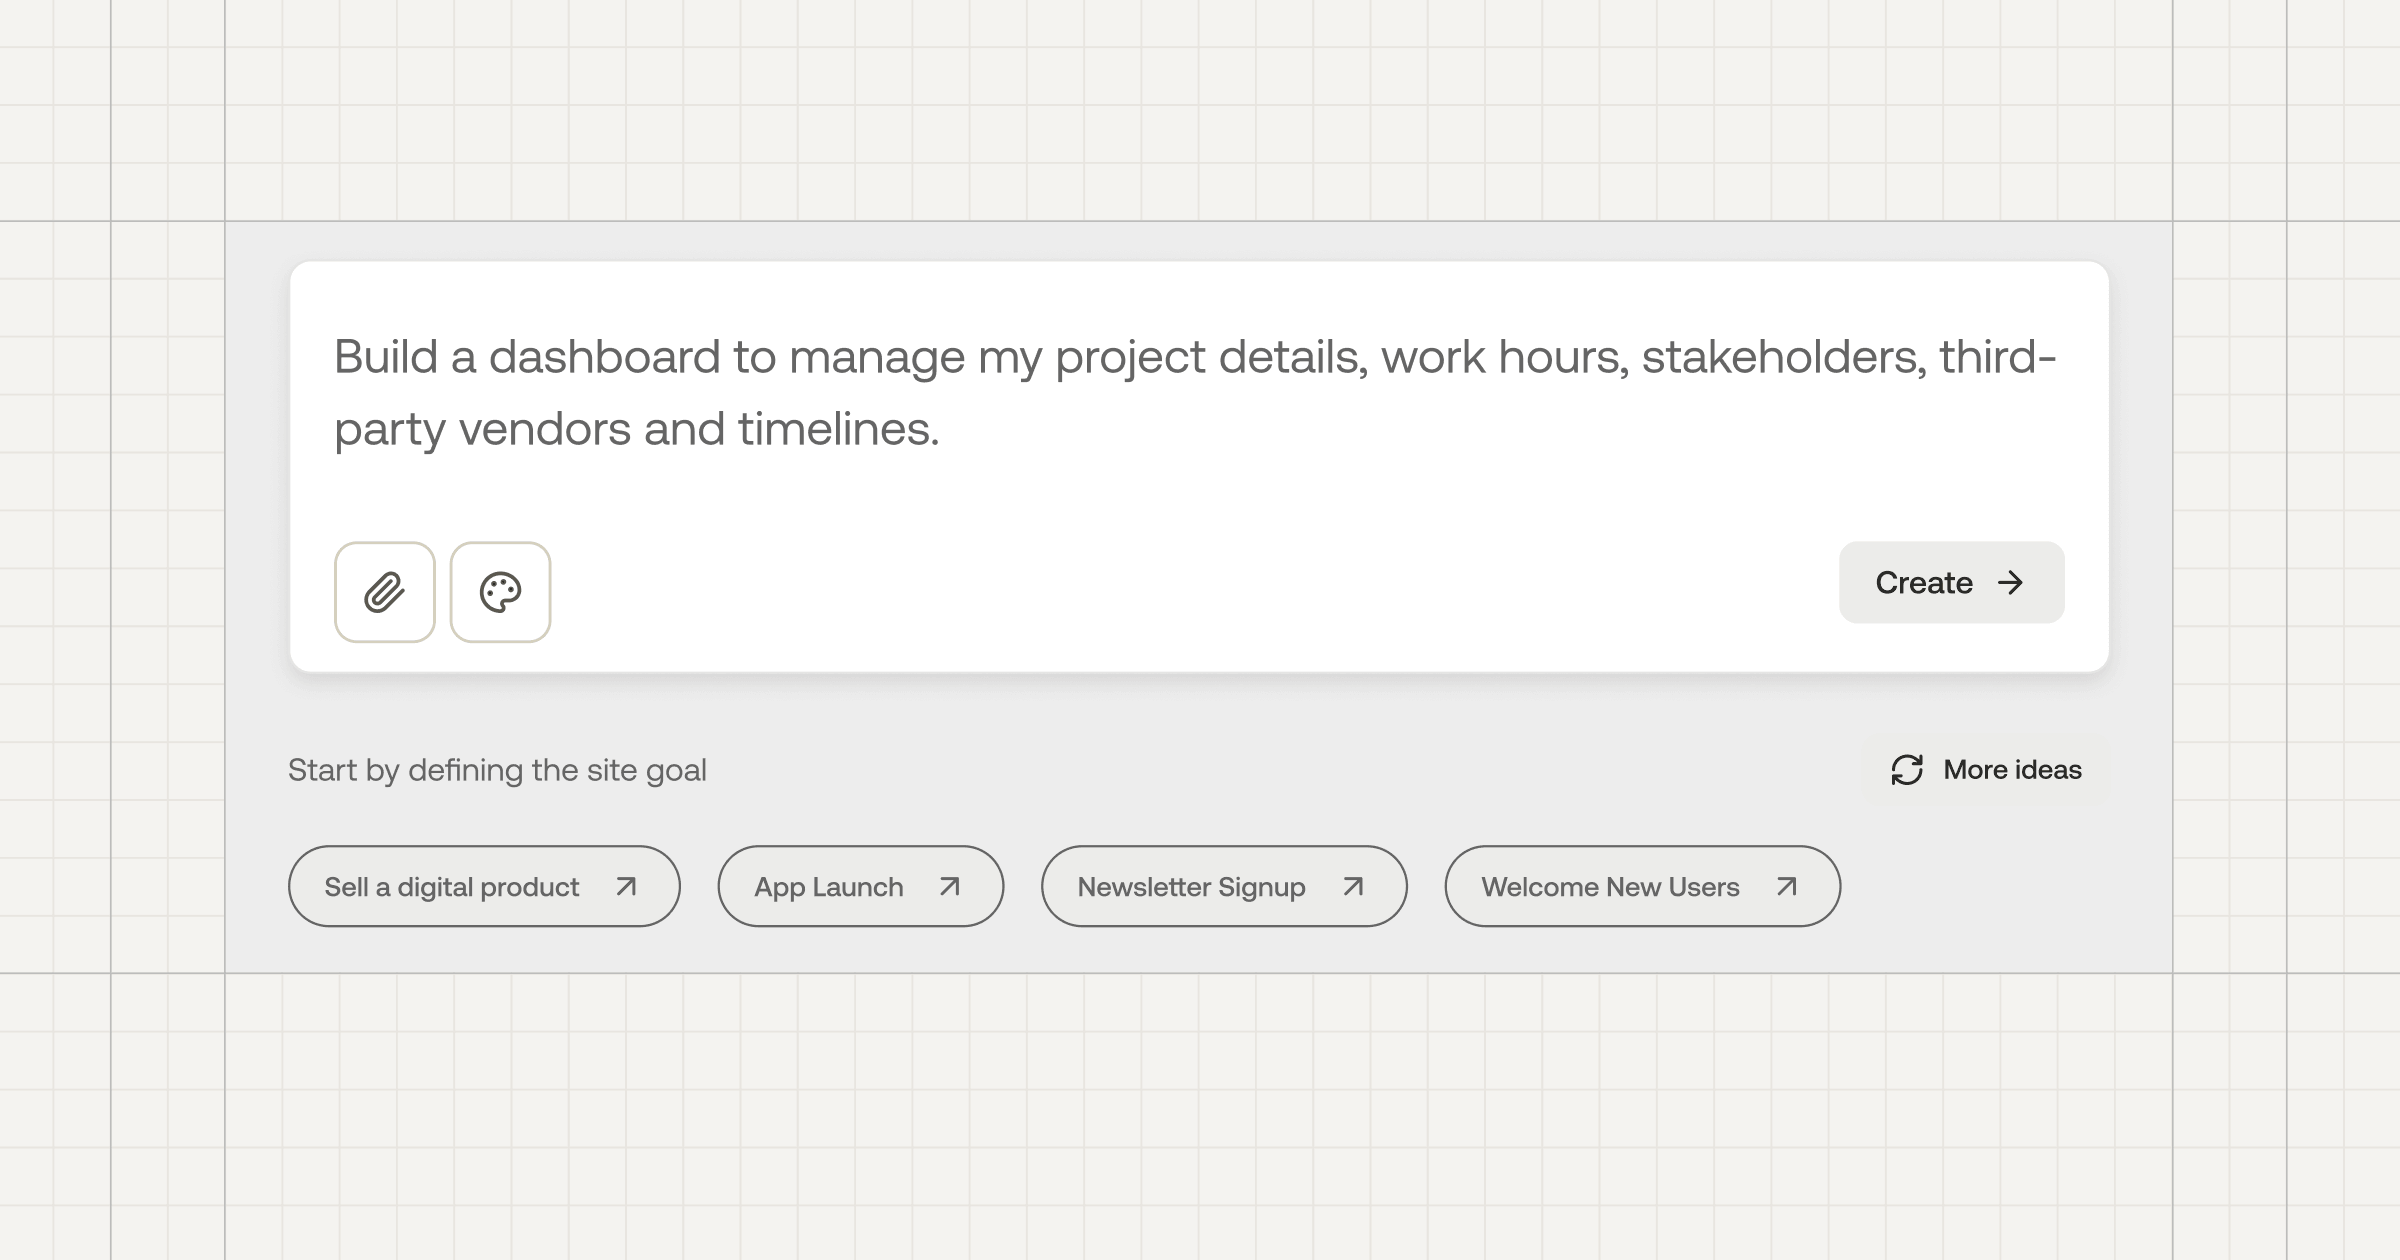
Step 3: Generate a working, clickable version rather than a mockup.
An app prototype starts to feel real the moment you can click through it instead of just look at it. Sticklight turns the prompt into an actual build, with working screens, functioning navigation, and real interactions, rather than a set of static images arranged to look like an app. You can click a button and watch it do the thing you asked for, because the underlying output is production-ready, not a picture of a product.
During this build phase, Skills add packaged expertise to the prototype with one click. Nine Skills are live today: Accessibility, SEO, Design System, Performance, Copywriting, Localization, Micro-interactions, Onboarding, and a 3D Web Experience skill for Three.js work. For a prototype, Onboarding and Micro-interactions are often the most useful early additions, since first impressions matter even at the concept stage.
The point of generating a working version instead of a mockup is simple: the people reviewing your prototype are reacting to something they can actually use, not something they have to take on faith. That produces sharper, more honest feedback, and it means none of the build effort here is wasted once you move past the prototype stage.
Step 4: Refine and test the flow on the canvas.
Once the first version exists, spend time on the canvas testing the exact flow you defined in Step 1. Click through it the way a real user would, start to finish, and note anywhere the interaction feels off or a step takes more taps than it should.
Sticklight keeps full control in your hands after the initial build. Manual editing lets you adjust copy, spacing, and layout by hand. Direct code editing on the canvas is there for the moments when you need to change behavior precisely, beyond appearance.
A few things worth checking specifically during this pass:
- Does the core flow work end to end without a dead click or a missing state.
- Do labels and copy match the language your actual users would expect.
- Are the screens outside the core flow rough but honest, rather than missing entirely.
- Would a first-time viewer understand what to do without being told.
Refine until the one flow you care about feels solid. Everything adjacent to it can stay lighter.
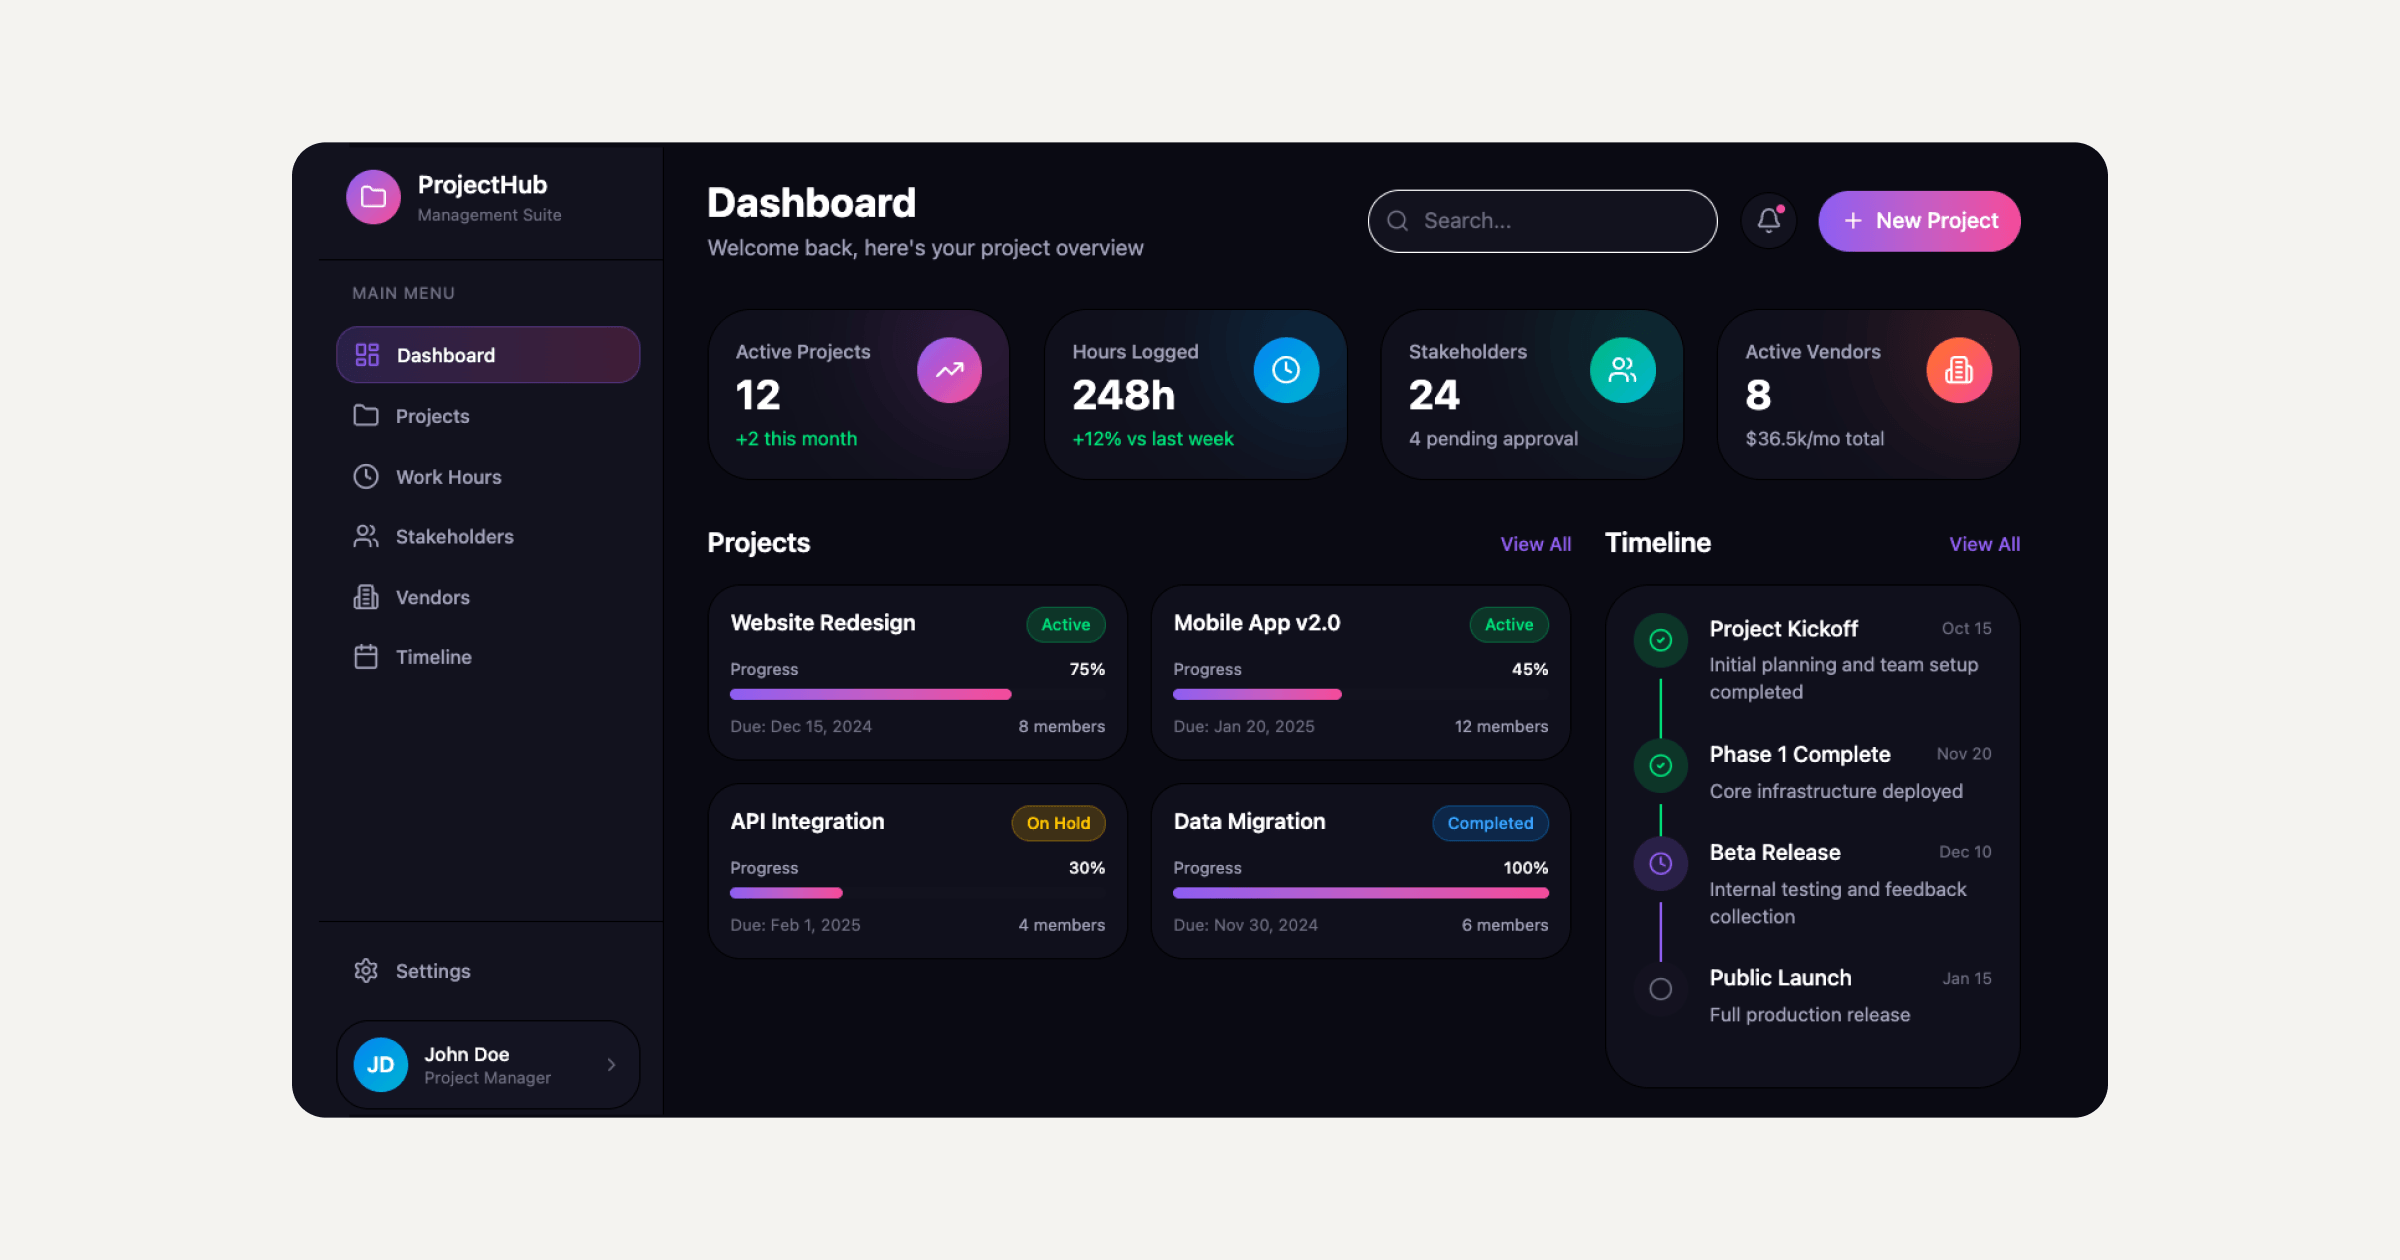
Step 5: Share it for feedback and iterate.
An app prototype only earns its keep once someone other than its creator has used it. Publish the build so reviewers, stakeholders, or a small group of target users can open it directly, without a separate export step or a translated set of screenshots standing in for the real thing. Sticklight’s publish step includes app hosting and a custom domain connection, plus a security scan on every build, so what you share is the same working product people will react to, not a placeholder.
Collect feedback against the question you set out to answer in Step 1: did this flow do the job it was supposed to do. Go back to the prompt, the canvas, or both, make the changes, and share again. Because the build is a live, working product rather than a disposable file, each round of iteration improves the same prototype instead of starting a new one.
The prototype you are testing and the app you eventually ship can be the same file, refined in place, rather than two separate projects connected by a rebuild.
When the concept is validated, there is no handoff to a separate development team to rebuild what already works. You keep building on the prototype itself, adding the remaining screens and connecting real data as the product grows past its first proof of concept.
My future self reads my own notes far more often than I ever read anyone else’s documentation online.
Itamar Haim
Built by the Elementor team. Powered by Claude.
Let it glow.
