

How to make an instant messaging app

The fastest way to build an instant messaging app is to separate two jobs from the start. One job is the interface people actually use: a conversation list, a chat view, profiles, and the accounts and admin behind them. The other job is real-time infrastructure: getting a message from one person’s screen to another’s in a second or two, tracking who’s online, and firing push notifications. That second job typically comes from a dedicated real-time messaging service you connect to, not something you write from the ground up.
With Sticklight, the vibe-coding platform for professional web creators, you prompt the interface into existence, refine it on the canvas, then connect it to real-time infrastructure and publish. This guide walks through the five steps, honestly, including the part where you plug in rather than build from scratch.
- An instant messaging app has two halves: the interface you build directly (conversation list, chat view, profiles, admin) and the real-time delivery layer (message delivery, presence, notifications), which usually comes through an integration.
- Start by defining who is messaging whom. One-to-one, group, or support-style conversations each shape the interface differently.
- Describe the app in plain language in Sticklight, and it generates the conversation list, chat view, and profile screens on the canvas.
- Real-time delivery and presence are not something a general-purpose builder invents per project. They come from dedicated infrastructure you connect to.
- Skills add packaged expertise, like accessibility and performance, on top of the interface, which matters for a chat screen that updates constantly.
- Publish a working core loop first, then iterate based on how people actually use the conversations.
Step 1: Define who is messaging whom and the core use case
Before any screen gets built, decide what kind of conversation your app actually supports. A one-to-one direct messaging app, a group chat app, and a support-style app where a customer talks to a team all need different structures, even though they share the same basic idea of “send a message, see a reply.”
Write down the shape of a conversation in your app: who can start one, how many participants it can have, and what a message contains at launch. For a first version, that’s usually just text, a sender, and a timestamp. Read receipts, typing indicators, and file attachments are real features, but they’re additions, not requirements for a working v1.
Also decide whether messaging is the whole product or a feature inside a bigger one, like a marketplace, a community platform, or a booking tool. That answer changes how much of the app is chat screens and how much is everything else the chat sits inside.
Step 2: Describe your instant messaging app in a prompt
Once the use case is clear, describe it in plain language in Sticklight’s prompt box. Name the screens you need: a conversation list showing recent chats with unread indicators, a chat view with a message thread and a composer at the bottom, and profile screens showing a name, an avatar, and a status.
Be specific about the relationship between screens. For example: “when I tap a conversation in the list, open the chat view for that conversation, and let me get back to the list from there.” For a multi-screen app like this, Plan Mode helps break the build into that structure before generation starts, so the conversation list, chat view, and profiles come out connected instead of as three disconnected screens.
If there’s an existing app or a reference you like the layout of, describing it in the prompt, or starting from a Template and remixing it, both work as entry points.
Step 3: Generate and refine the interface on the canvas
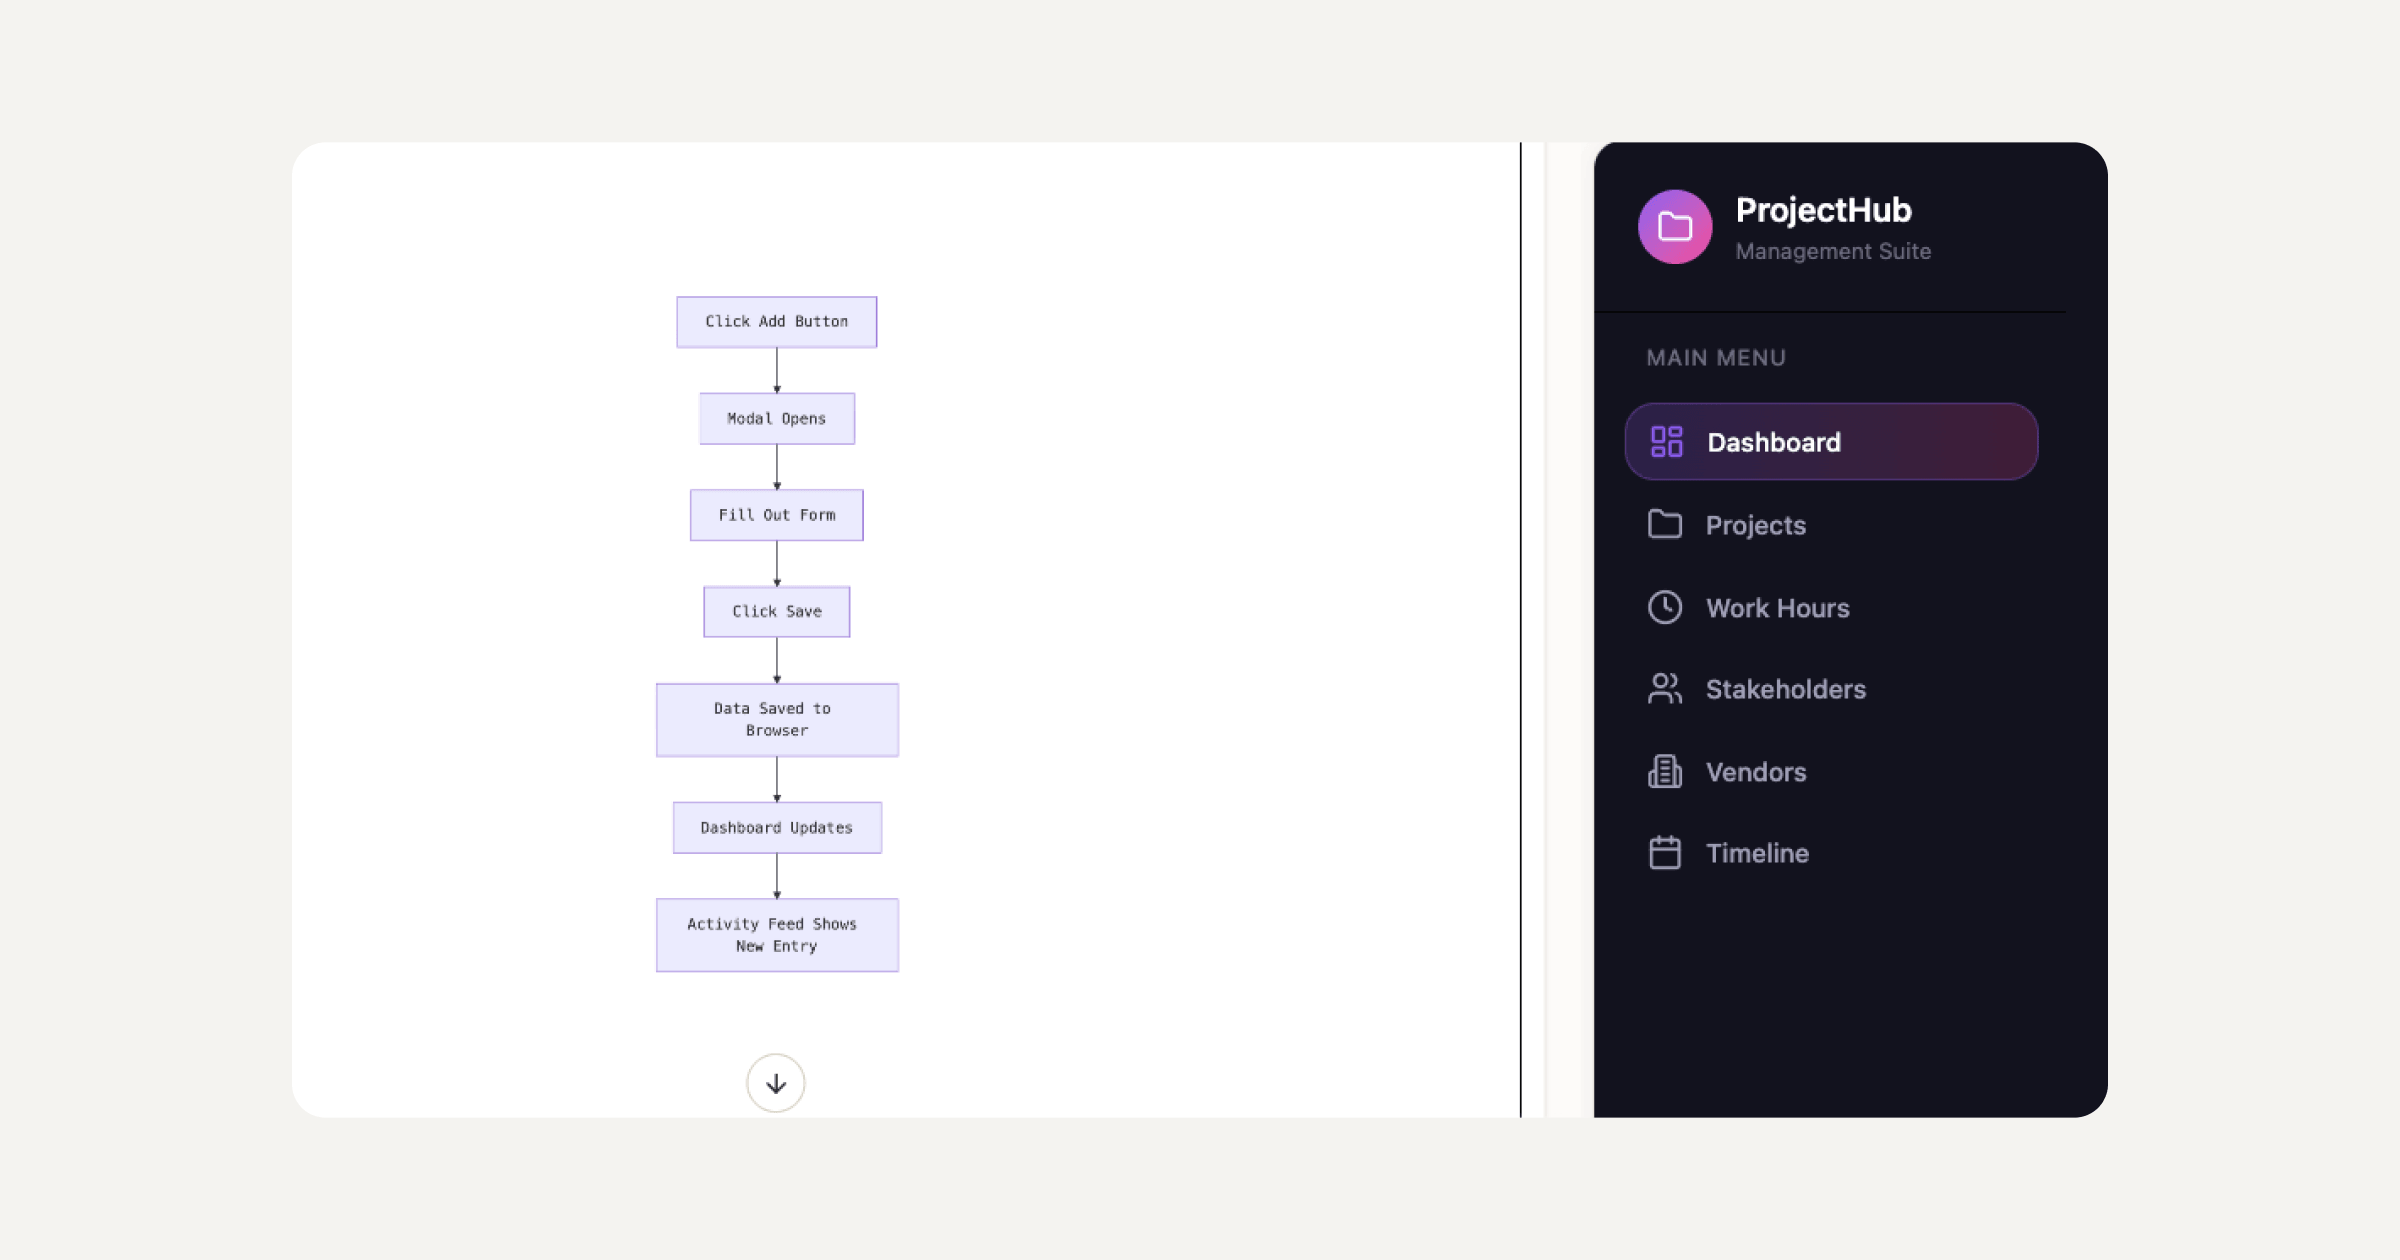
Sticklight turns that prompt into working screens: a conversation list, a chat view with message bubbles, and profile pages. From there, the work shifts from prompting to refining. You keep full control of every pixel, so at that point the app stops looking generic and starts looking like yours.
A few things worth checking at this stage:
- Message states. Sent, delivered, and read all need to look different, even before real delivery data exists behind them.
- Empty states. What does the conversation list look like with no chats yet, and what does a new conversation look like before the first message is sent.
- Density. Chat interfaces get crowded fast. Check spacing in the message thread and the conversation list once there’s more than a handful of items in each.
You can adjust layout and spacing directly, or drop into the code on the canvas for more precise changes. Either way, the interface stays editable by hand after generation, not locked to whatever came out of the first prompt.
Step 4: Connect a real-time backend, add accounts, and apply Skills
This is the step where honesty matters most. The interface from Step 3 is not, on its own, a working messaging system. Getting a message from one device to another instantly, tracking who’s online, and sending push notifications when someone’s app is closed are jobs handled by dedicated real-time messaging infrastructure, the same way a booking system connects to a calendar service instead of reinventing calendar logic. That infrastructure typically comes into your app through an integration rather than through hand-built delivery code, and Sticklight connects to it through Sticklight MCP or through Connectors matched to your use case.
Alongside that connection, build the parts that are genuinely yours to build directly: accounts and sign-in, so people have an identity to message from and to, and the admin side, like moderation or a way to see which conversations exist. These are standard app-building work, not real-time infrastructure, and they’re where most of your product’s actual logic lives.
This is also the right point to add Skills, packaged expertise you attach to the build with one click. Two matter especially for a messaging app:
- The Accessibility Skill ships WCAG-compliant markup, focus states, and ARIA, which matters in a chat view where new messages arrive continuously and need to be announced correctly to screen readers.
- The Performance Skill matters because a message list that keeps growing needs to stay fast, not slow down as conversation history builds up.
Every build also gets a security scan, which is worth checking before you publish an app that handles people’s conversations and accounts.
Step 5: Publish and iterate
Publishing brings SEO, the security scan, custom domain connection, and app hosting together, so the app is live at a real address, not stuck as a preview. For an instant messaging app, publish once the core loop works end to end: someone can sign in, start a conversation, send a message, and see it arrive.
Everything past that core loop is iteration. Group conversations, message search, read receipts, and richer profiles are all reasonable additions, but they’re easier to get right once real conversations are happening and you can see what people actually reach for. Skills you’ve already applied carry forward too, so the accessibility and performance work from Step 4 doesn’t need to be redone as the app grows.
Treat the first published version as a working starting point rather than a finished product. An instant messaging app, more than most app types, tends to reveal its real requirements once actual people start typing into it.
Confusion is not failure creeping in. Confusion is the raw material real learning gets built from, every single time.
Itamar Haim
Built by the Elementor team. Powered by Claude.
Let it glow.
