

How to use an AI app builder in a few easy steps

If you are wondering how to use an AI app builder, the process is closer to a working conversation than a magic trick. You start a project and get clear on what you want, describe it in a focused prompt, review what comes back, add the expertise your project needs, and publish. With Sticklight, that flow covers everything from a marketing site to a full internal dashboard, and you stay in control of every screen the whole way through.
This guide walks through the five steps in order, from your first prompt to a live product on your own domain. It is written for founders, marketers, and creators who have never written a line of code, and who want a working product rather than a demo.
- An AI app builder works best when you get clear on what you’re building before you write your first prompt.
- Specific, outcome-focused prompts save you rounds of back and forth later.
- Reviewing your first version is a conversation, not a one-shot request. You refine it on the canvas.
- Skills add packaged expertise, such as accessibility, SEO, design system, and performance, to your build with one click.
- Publishing includes built-in SEO and a security scan on every build, plus your own custom domain.
- Sticklight connects to an existing WordPress or Elementor site rather than replacing it.
Step 1: How to use an AI app builder, starting with a clear project brief
Before you type a single prompt, spend a few minutes getting clear on what you actually want to build. Is it a marketing site, a booking system, an internal dashboard, or a small database-backed tool for your team? Who is it for, and what does someone need to be able to do on it?
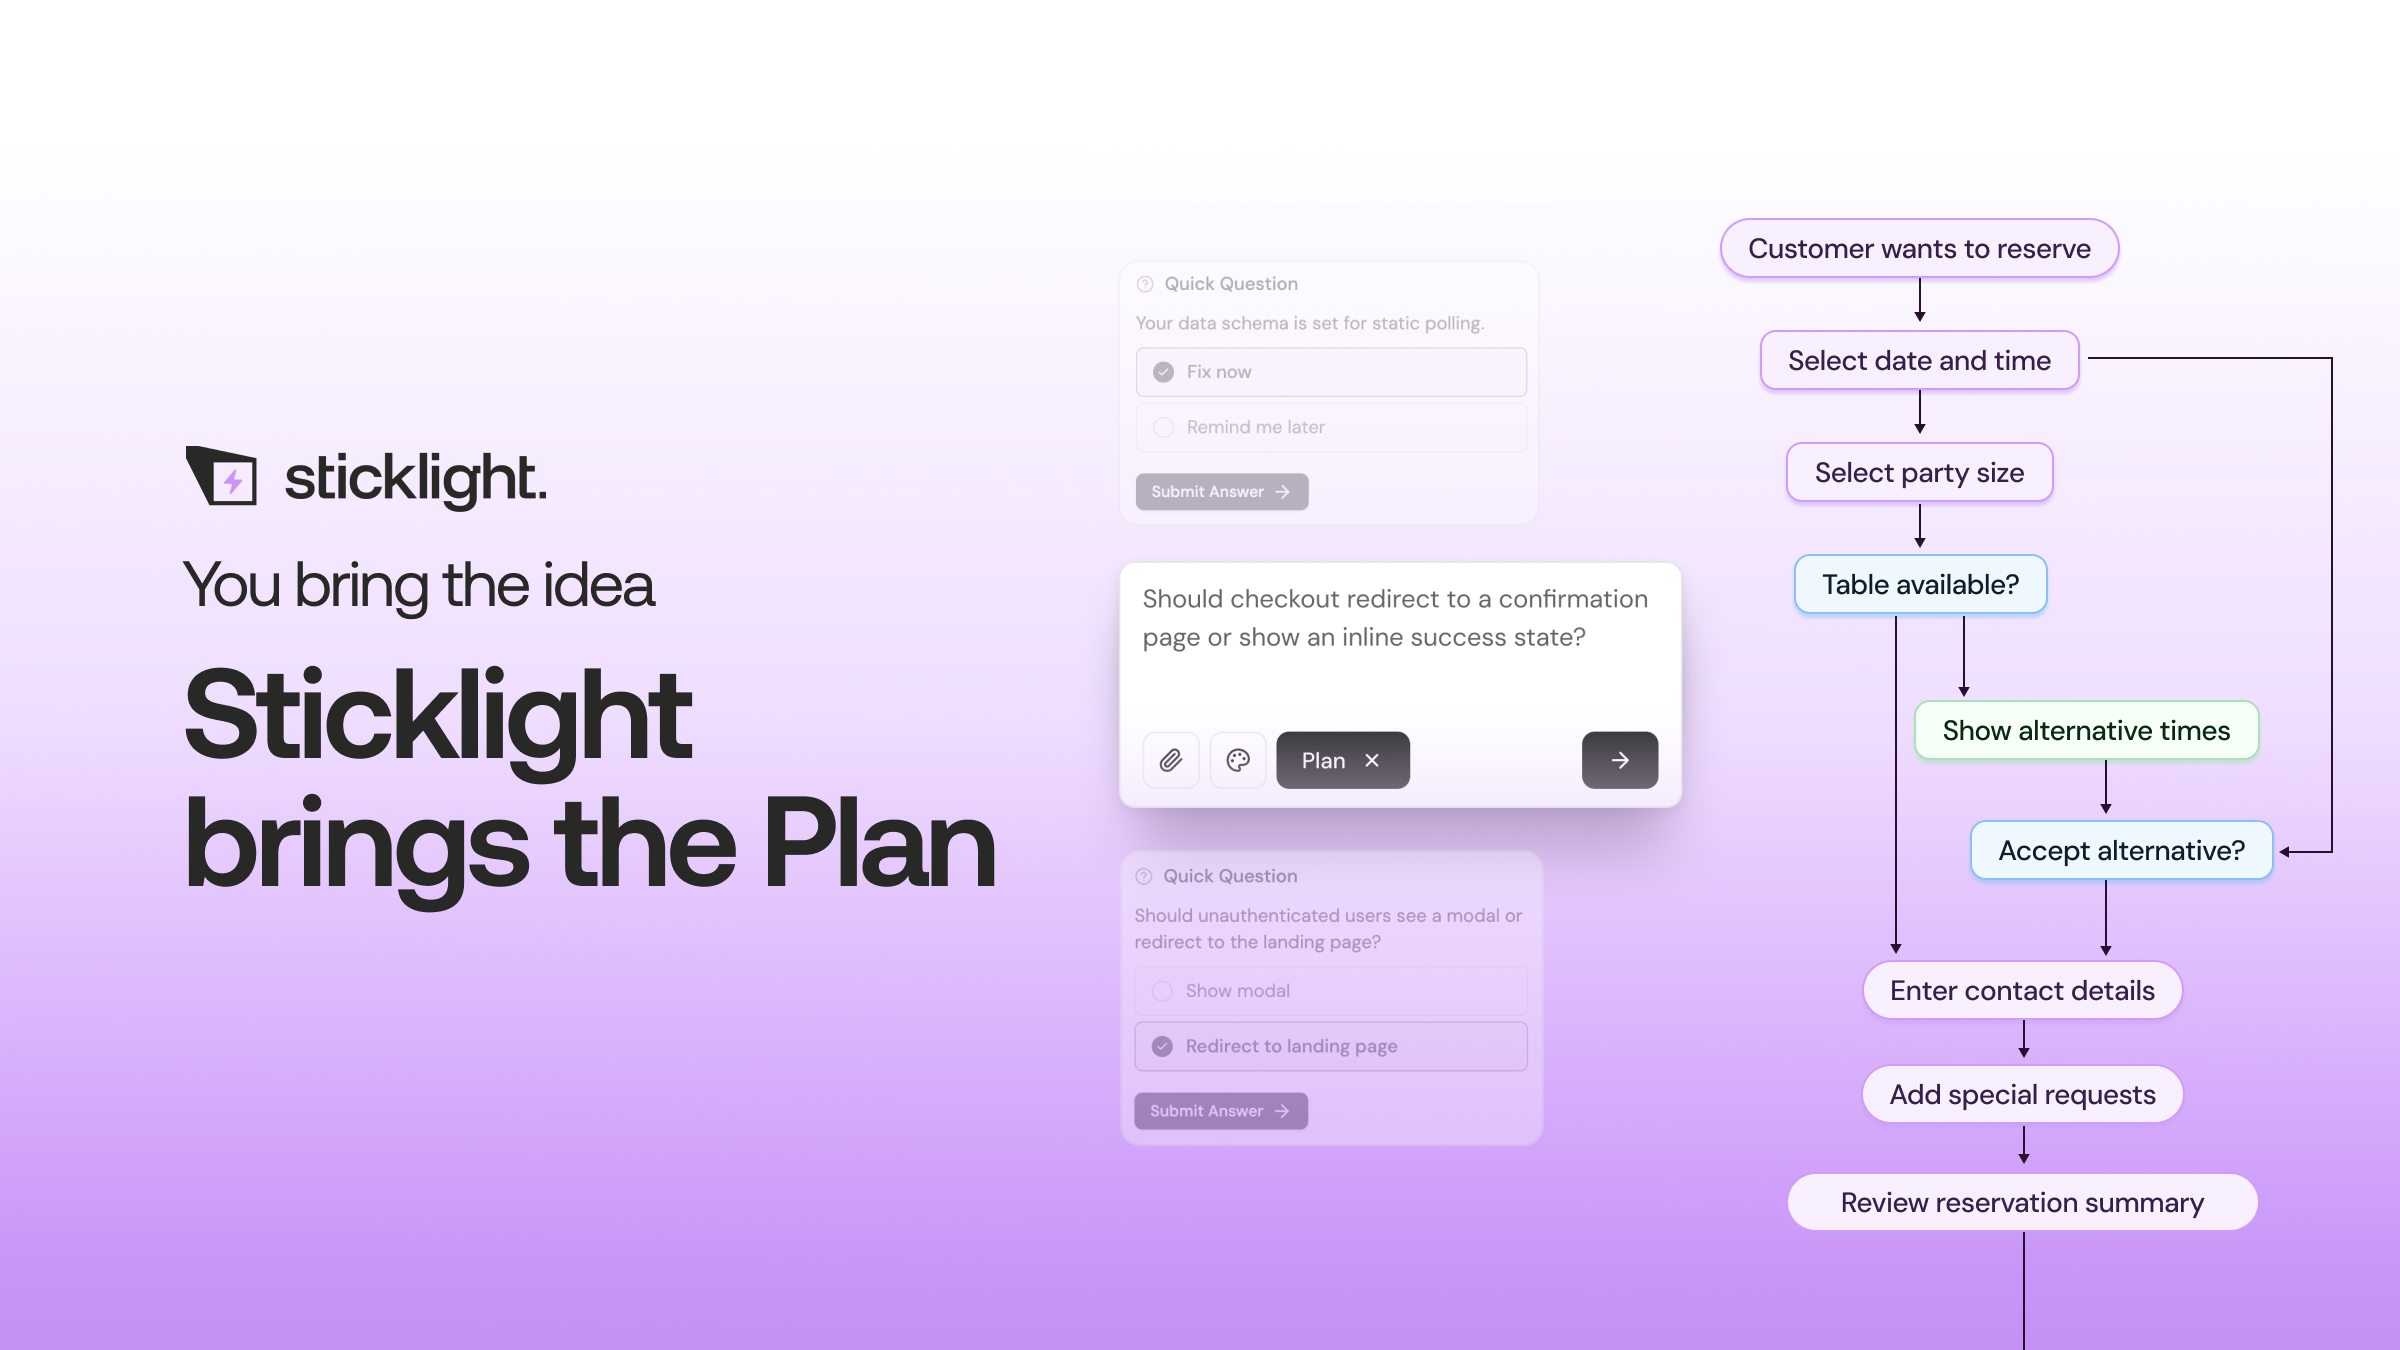
In Sticklight, you can start this way in a few different places. The main prompt box is the fastest path for a straightforward project. For anything with more moving parts, Plan Mode breaks the project into clear steps before you build, which keeps a multi-page site or an app with several workflows from turning into guesswork. You can also start from a Template and remix it, or use a Connector suited to your use case.
A little planning here pays off later. The clearer your brief, the fewer rounds of revision you’ll need once you start prompting.
Step 2: Describe your app in one specific, outcome-focused prompt
Once you know what you’re building, write a prompt that describes the outcome instead of a vague category. “A booking app for a small studio” gives an AI app builder very little to work with. “A booking app where clients pick a service, see open time slots, and get a confirmation page, built for a single-location yoga studio” gives it a real brief.
A strong first prompt usually covers:
- Who the product is for, and what they’re trying to accomplish.
- The core pages, screens, or flows you need, named directly.
- Any must-have functionality, like forms, a database, or a login.
- The tone or style you’re aiming for, if you already have one in mind.
You don’t need to get every detail right on the first try. Sticklight’s flow is built around prompt, build, and publish as connected steps, not a single irreversible request, so the next step is where you shape the result.
Step 3: Review the first version and refine it on the canvas
Once Sticklight generates a first version of your project, treat it as a strong starting draft rather than a finished product. Click through the pages or screens, check the flows you described, and note what’s close and what still needs work.
Refinement happens by conversation. Tell Sticklight what to change in plain language, the way you’d brief a designer or developer, and it updates the build. Because you keep full control after the AI does the first pass, you can also edit directly on the canvas or go into the code itself when you want to adjust something by hand.
This back-and-forth is where the project starts to feel like yours. Most builds improve fastest over two or three rounds of specific feedback rather than one long prompt trying to cover everything at once.
Step 4: Add Skills and connect real data
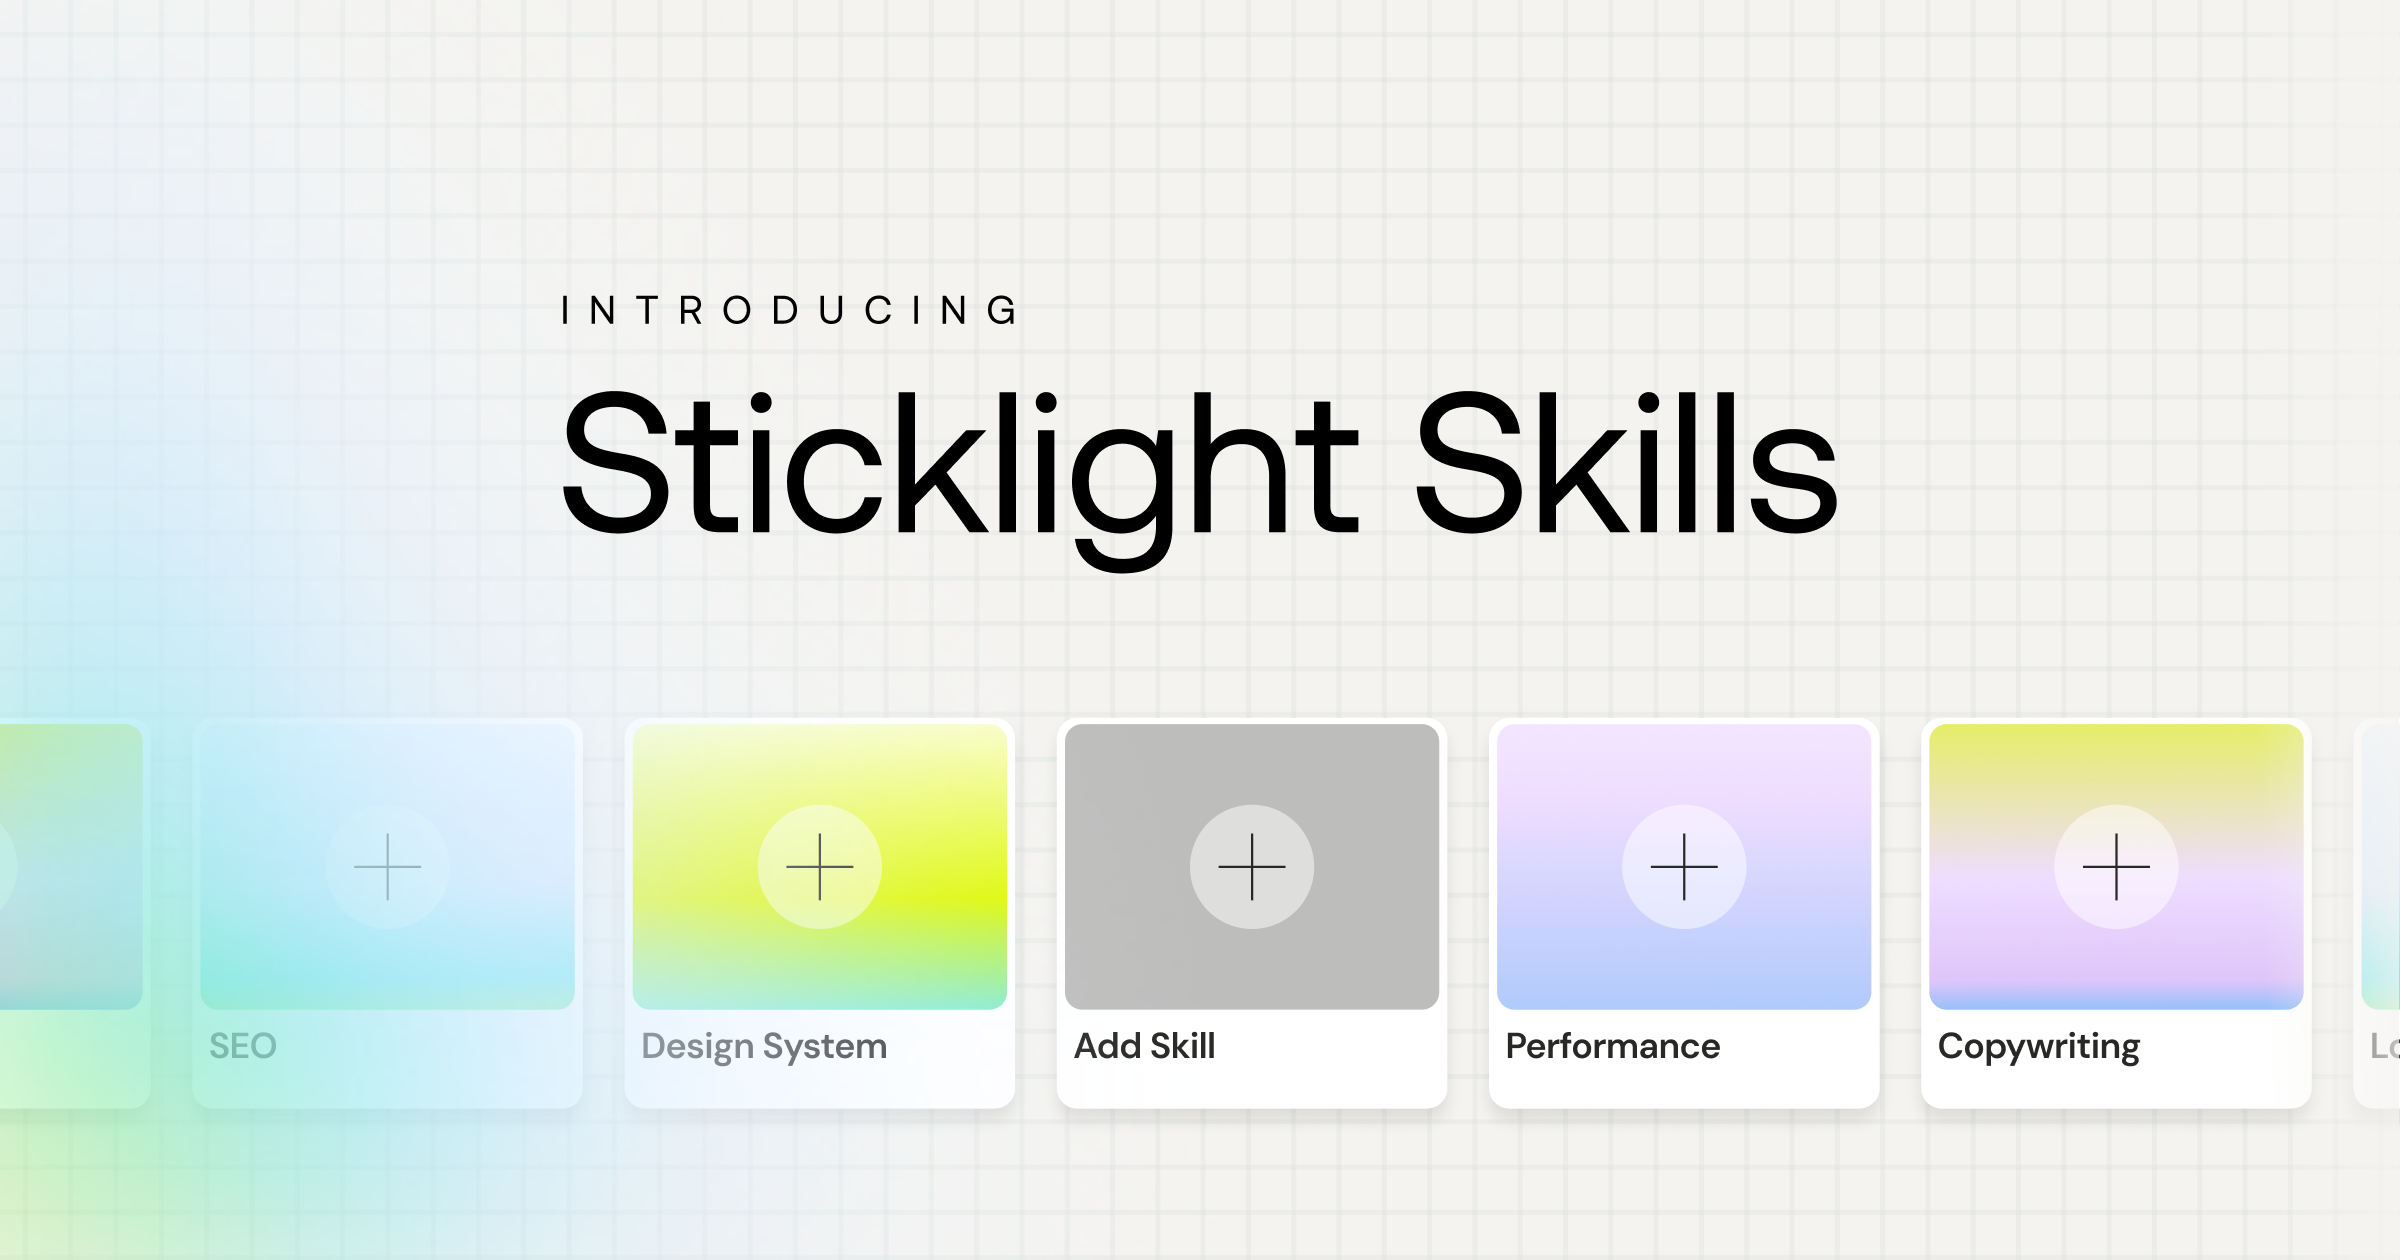
This is the step that separates a demo from a product you can actually ship. Skills are packaged units of expert know-how you add to your build with one click. Sticklight’s Skills cover areas like accessibility, SEO, design system, and performance, with more added over time.
A few examples of what that looks like in practice:
- The Accessibility Skill adds WCAG-compliant markup, focus states, and ARIA attributes.
- The SEO Skill sets up meta tags, schema, a sitemap, and on-page best practices.
- The Design System Skill keeps your components and styling consistent as the project grows.
Skills compound across projects, so the tenth thing you build with Sticklight tends to move faster and land sharper than the first. This is also the point to connect real data and tools, whether that’s a database, a form backend, or another service your project depends on, using Sticklight’s ready-made integrations. An Agents capability that automates more of this work is coming soon. It isn’t part of the platform today.
Step 5: Publish, then iterate and connect your existing WordPress or Elementor site
When your build is where you want it, publishing is part of the same flow, not a separate export process. Sticklight runs a security scan on every build, has SEO built in from the Skills you added, and lets you connect a custom domain. From there, your project is hosted and live.
Publishing isn’t the end of the process. Keep prompting, keep adding Skills, and keep shipping updates as your needs change. That’s really what it means to go beyond a single website and build as a full-stack creator, one prompt at a time.
If you already run a site on WordPress or with Elementor, you don’t have to start over. Sticklight plugs into that site and builds on top of it, so you can add a new app, dashboard, or landing page alongside what you already have, with WordPress staying the source of truth for your existing content.
I keep a running list of things I only understood after I actually built them, and it’s longer than I’d like to admit.
Itamar Haim
Built by the Elementor team. Powered by Claude.
Let it glow.
