
How to use an app template to build (2026)

An app template gives you a working starting point instead of a blank canvas, so you skip the setup work and go straight to shaping the parts that make your product yours. The fastest way to use one is to pick a starting point close to your goal, describe the changes you want, then refine, connect data, and publish. That holds true no matter which route you take: pulling a template from a marketplace or starting from a plain-language description in Sticklight.
The five steps below cover using an app template to build a real product in 2026, and show where a prompt-first approach removes the part of templates that usually slows people down: being locked into someone else’s layout decisions.
- An app template is a scaffold, not a finished product. You still need to shape it around your content, your users, and your goal.
- Picking a template that matches your structural needs (not just its visual style) saves the most rebuild time later.
- Sticklight lets you start from a described starting point instead of a rigid template, then customize everything through conversation.
- Refining layout and content works best in short passes: adjust, look, adjust again.
- Skills add packaged expertise, like accessibility or performance, to a template without you having to research each discipline yourself.
- Publishing an app template-based build still needs a check on real data, real content, and how the app behaves for an actual user.
Step 1: Choose a template or starting point that matches your goal
The point of an app template is to skip the parts of building that are the same for almost every project: navigation, base layout, common components, and a working structure you can view in a browser right away. Choosing well here saves you the most time later, because swapping a template’s underlying structure after you have built content on top of it is far more work than swapping colors or copy.
Match the template to what your app actually needs to do, not just how it looks. A booking system, a dashboard, and a marketing landing page have different structural requirements: different data views, different navigation patterns, different interaction points. A template that looks close but is built for the wrong kind of product usually costs you more time than starting from something plainer that already fits.
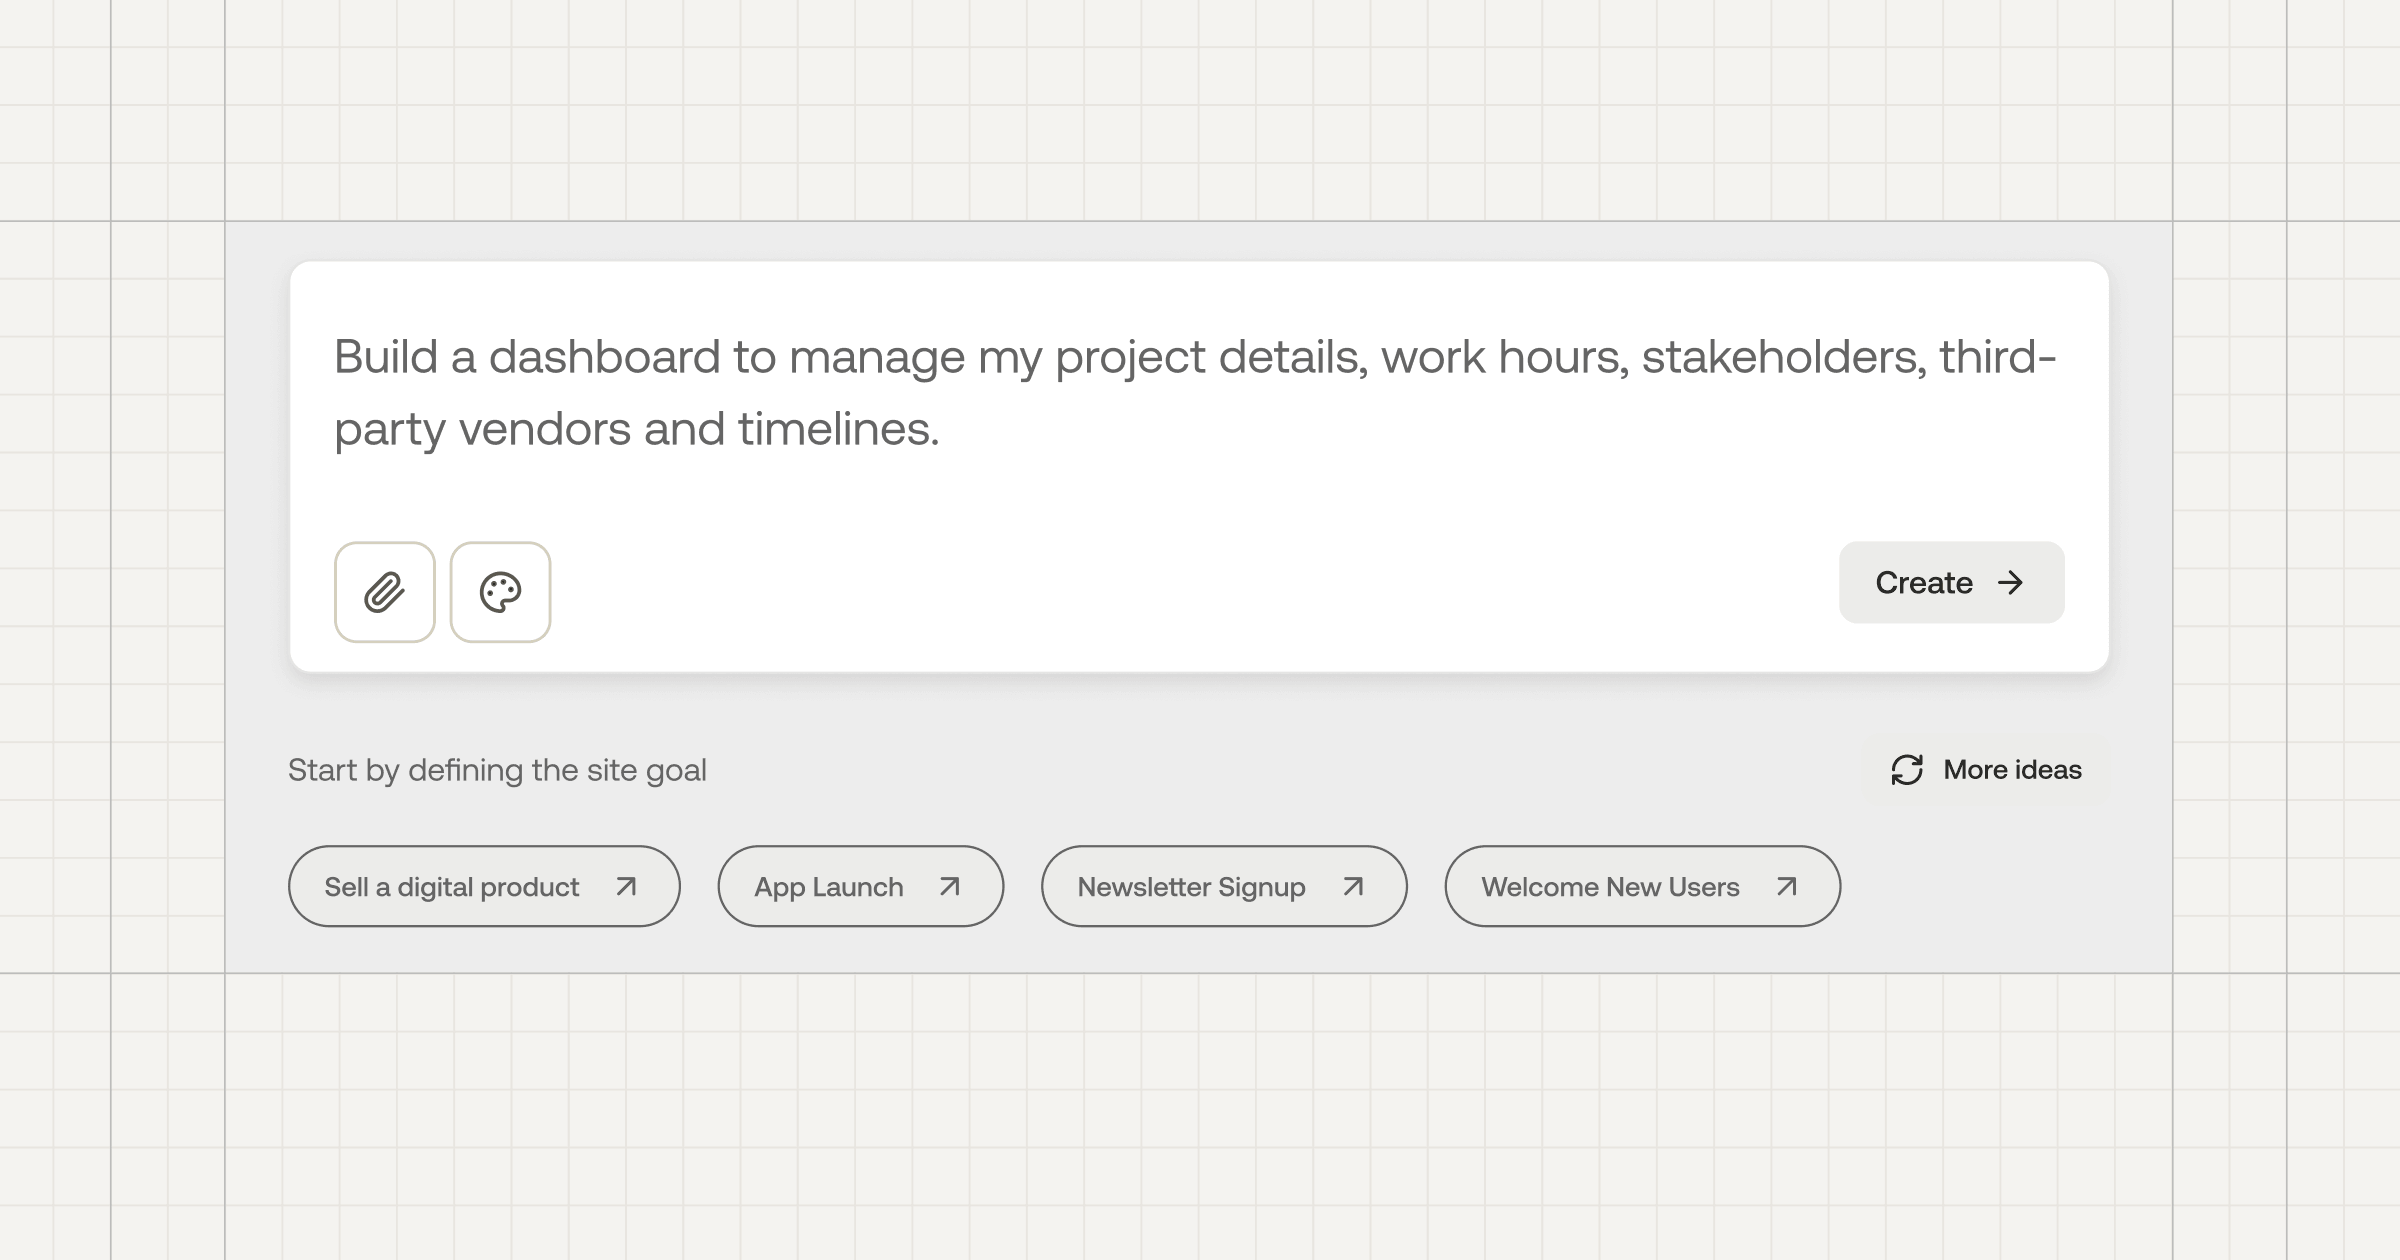
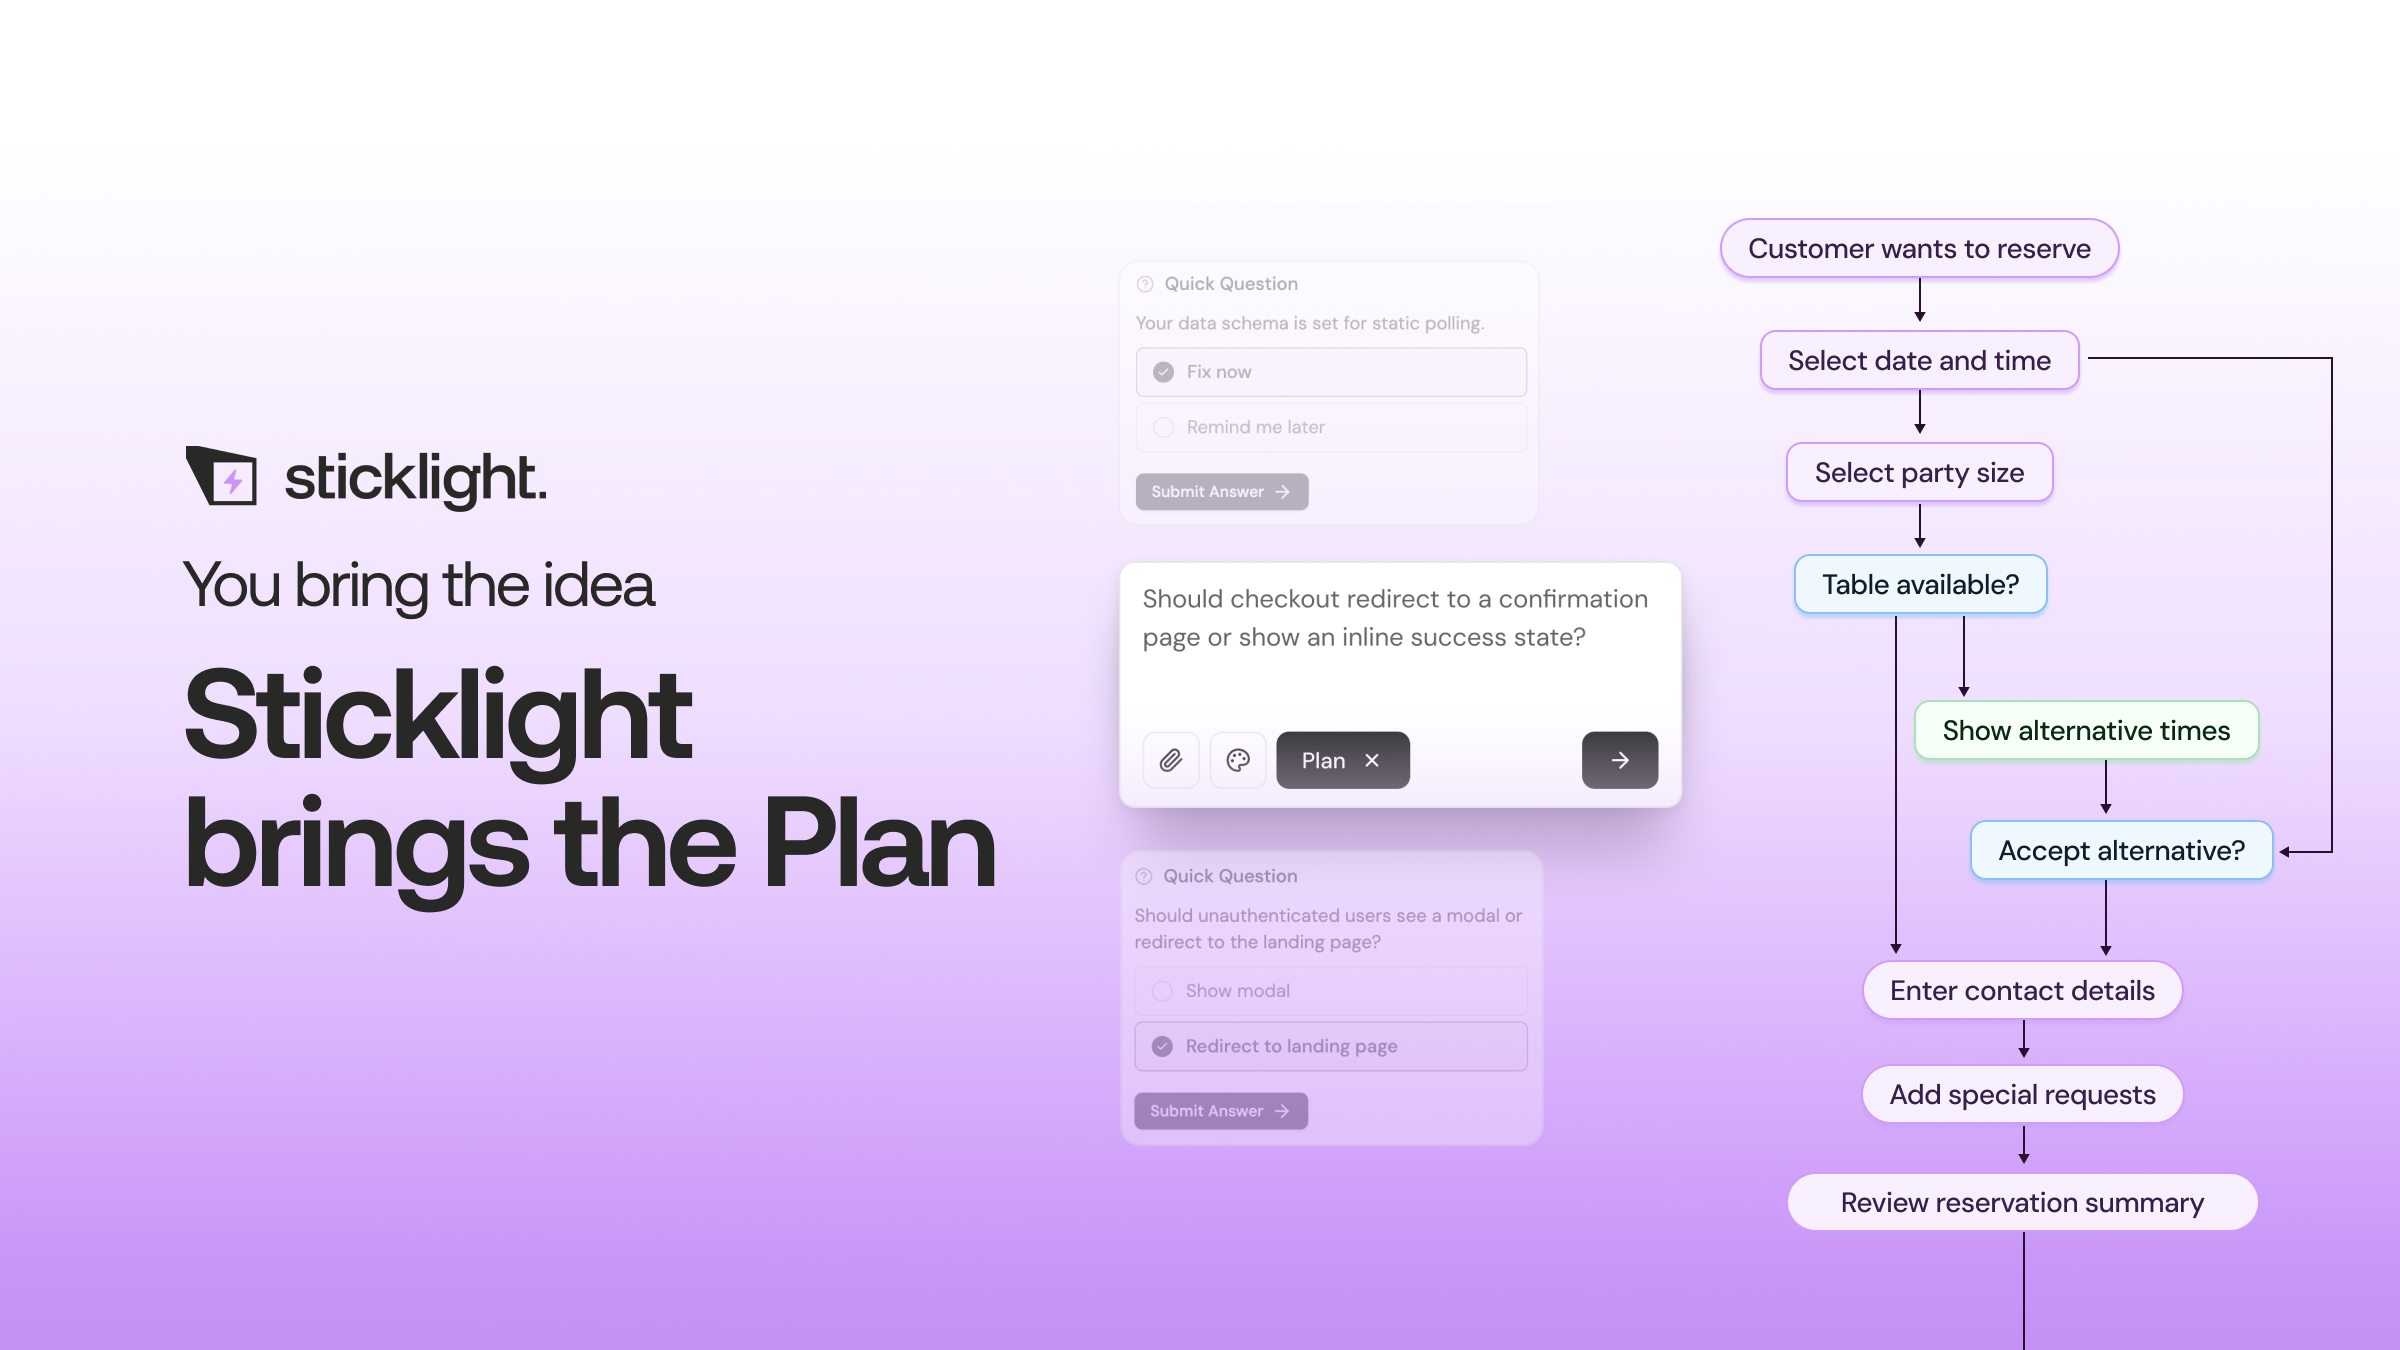
With Sticklight, this step looks a little different. You are not limited to picking from a fixed library of rigid templates. You can start from a described starting point, a plain-language description of what you want to build, and Sticklight generates the initial structure from that description. Templates are available to remix as one entry point among several, alongside the main prompt box, Plan Mode for more complex builds, and connectors based on your use case. You choose whichever starting point gets you closest to your goal.
Step 2: Describe the customizations you want in a prompt
Once you have a starting point, the next step is telling it what to become. At that point an app template stops being generic and starts being yours. Write down, in plain language, what needs to change: the sections you need, the tone of the copy, the data the app should display, the actions a user should be able to take.
Be specific about function before you worry about polish. “Add a booking calendar with time slot selection” gives a clearer instruction than “make it more interactive.” The more concrete your prompt, the less back-and-forth you need in the next step.
This is the part of the process where Sticklight’s approach diverges most from a traditional template library. Instead of digging through a template’s settings panel looking for the one option that lets you change a layout, you describe the customization directly, in a prompt, and the build responds. You are not negotiating with a rigid structure. You are directing a starting point toward your goal.
A template is a scaffold you shape to your needs, not a mold you have to fit yourself into.
Step 3: Refine the layout and content on the canvas
After your first pass, you will have something close but not exact. This is normal. Refinement is where most of the real customization happens, and it works best as a series of small passes rather than one giant rewrite.
Work section by section. Look at spacing, hierarchy, and whether the content reads clearly at a glance. Adjust one thing, check how it looks, adjust the next thing. Trying to fix everything in a single sweeping prompt usually produces messier results than a few focused ones.
Sticklight supports this kind of iterative work directly on the canvas. You can keep refining through conversation, and you also keep full control to edit by hand, including direct code editing when you want to make a precise change yourself. AI does the heavy lifting to get you close. You keep the final say on every pixel.
- Check that headings and navigation still make sense after your edits.
- Confirm spacing and alignment look consistent across sections.
- Read the copy out loud once. If it sounds stiff, revise it in the same pass.
Step 4: Add Skills and connect real data
A template with placeholder text and sample data is not yet a working app. This step is where you connect the pieces that make it function for real: your actual content, your actual data source, and any specialized expertise the build needs to be genuinely production-ready.
Skills come in at this stage. A Skill is a packaged unit of expert know-how you can add to your build with one click, covering areas like accessibility, design systems, performance, copywriting, localization, micro-interactions, onboarding, and 3D web experience. Add the ones relevant to your app, and that expertise gets applied without you needing to become an expert in each discipline yourself. Agents are on the roadmap as a coming-soon feature, not something available today.
Once the structural and expertise layer is in place, connect your real data. Whether that is a booking system’s availability, a dashboard’s live metrics, or a CMS’s content entries, this is the step that turns a templated shell into a functioning product.
Step 5: Publish
The last step is putting your build in front of real users. Before you publish, do a final pass with fresh eyes: click through the main flows, check how the app looks on a smaller screen, and confirm the content reads the way you intended.
Publishing in Sticklight includes SEO built in and a security scan on every build, so the basics are covered before your app goes live. You can connect a custom domain, and app hosting is part of the same platform, so you are not stitching together separate tools to get from a finished build to a live one.
If your app template started life as an extension of an existing WordPress or Elementor site, that connection carries through here too. Sticklight connects to and extends what you already have, rather than asking you to abandon it and rebuild from zero.
Why a described starting point beats a rigid template
Traditional app templates save time on setup, but they can cost time later if the structure does not quite fit what you are building. You end up hunting for the one toggle that lets you change a section you need to change, or accepting a compromise that is not really what you wanted.
A described starting point sidesteps that trade-off. You tell Sticklight what you are building in plain language, and the structure comes back shaped around your actual goal. From there, every customization happens the same way: through conversation, with full control to hand-edit whenever you want precision. The same prompt-first flow builds a landing page, an app, a dashboard, or a CMS, and Skills add the packaged expertise each one needs along the way.
Every error message is a question the computer is asking me to answer more precisely.
Itamar Haim
Built by the Elementor team. Powered by Claude.
Let it glow.
