

How to vibe code a website in 5 steps (2026)
You vibe code a website by describing the site you want in plain language, then letting an AI platform generate a working version and refining it through conversation until it is ready to publish. Instead of writing HTML, CSS, and JavaScript line by line, you describe the outcome, and the platform produces real code you can review, edit, and ship.
This guide breaks the process into five steps you can follow with Sticklight, the vibe-coding platform for professional web creators who build beyond websites, into apps, dashboards, and other production tools. Each step moves you closer to a site that is not a rough draft or a static mockup, but a production-ready build you can hand to a client, connect to your business, or run on its own.
- Vibe coding means describing what you want in natural language and refining it through conversation, rather than writing code line by line.
- Sticklight follows a Prompt, Build, Publish flow that takes a website from a written description to a working, published product.
- The five steps are: describe the outcome, generate the first version, refine by conversation and on the canvas, layer in Skills, and publish.
- Skills package expert know-how, including SEO, accessibility, performance, and design system best practices, into the build with one click.
- Output is meant to be production-ready from the start, and you keep full control to edit every pixel or line of code after the AI pass.
- You can connect a Sticklight build to an existing WordPress or Elementor site instead of starting from zero.
What it means to vibe code a website
To vibe code a website is to build it by describing what you want in natural language and refining the result through conversation, instead of writing every line of markup and styling by hand. You tell the platform what the site needs to do, who it is for, and what it should look and feel like. The AI generates the actual code behind the scenes, and you steer the result with follow-up prompts and direct edits.
This differs from a drag-and-drop builder, where you assemble pre-made blocks yourself, and from writing code from scratch, where every element starts blank. Vibe coding sits between the two: you get a working site fast, and you keep the ability to open the hood and adjust anything by hand.
With Sticklight, that process runs on three pillars: prompt, build, and publish. You describe the outcome, the platform builds it to the standard of a senior designer and developer, and you publish a real, working product rather than a demo.
Step 1: Describe the outcome you want
Start by describing the site you want to build, not the individual components you think you need. Instead of listing sections, describe the outcome: who the site is for, what visitors should be able to do on it, and the tone you want it to carry. A booking site for short-term rentals and a lead-generation page for a sales team can both start with the word “booking,” but the outcomes you describe should sound nothing alike.
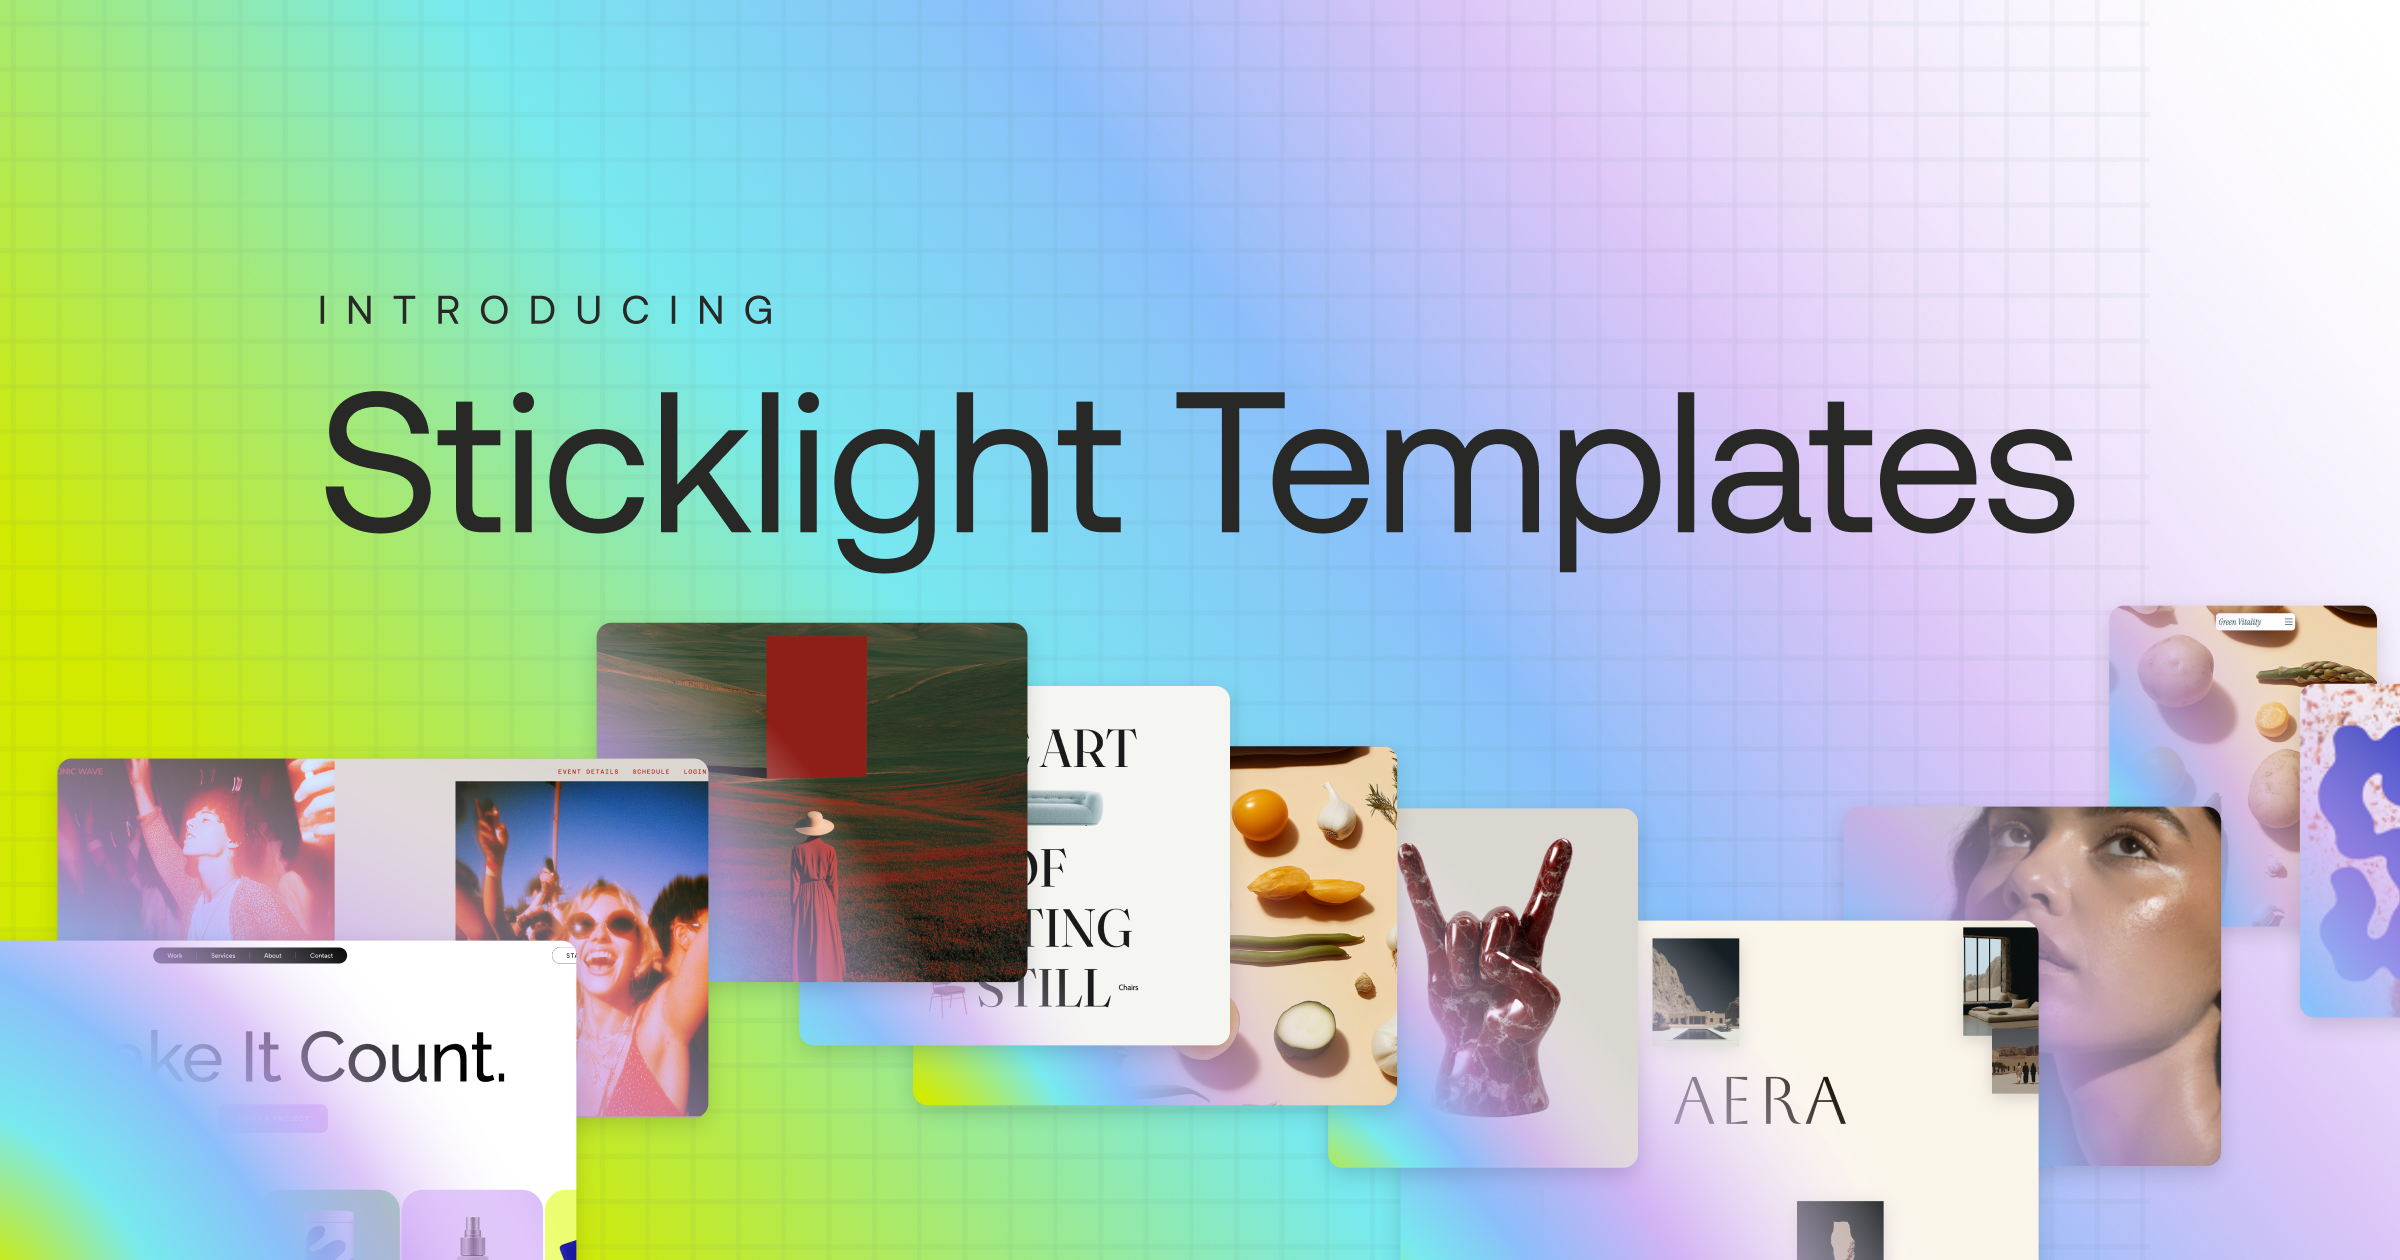
Sticklight gives you more than one way to start that description. The main prompt box is the direct route: write what you want and let the build begin. Plan Mode is built for more complex requests, breaking a multi-page site or a multi-feature app into a clearer plan before generation starts. Templates let you remix an existing structure and make it your own, and Connectors bring in building blocks suited to your use case.
The more specific you are about the outcome, the less back-and-forth Step 3 will need later. Mention the pages you expect, any forms or bookings the site needs to handle, and any brand details that matter, colors, fonts, or an existing site to match.
Step 2: Generate the first working version
Once you submit your description, Sticklight generates a first version of the site, not a static image of one. The output is real code, structured the way a professional developer would structure it, styled the way a professional designer would style it. That is the Sticklight standard: the combined craft of a senior designer and developer, applied from the first prompt.
This matters because some AI tools stop at something that looks convincing in a screenshot but breaks the moment you click a link. A working first version from Sticklight is a site you can click through and test on a phone, because it already is one.
Expect this first pass to be a strong starting point rather than a finished product. It gets the structure, the layout, and the core content right. The next step is where you shape it into something closer to your exact vision.
Step 3: Refine by conversation and on the canvas
Vibe coding earns its name at this step. Instead of hunting through a settings panel to change a layout, you tell Sticklight what you want changed, in plain language, and it updates the build. Ask for a different hero layout, a new color for the call-to-action buttons, or an added testimonials section, and the platform adjusts the live build.
Conversation is not the only way in. Sticklight also gives you manual editing on the canvas and direct code editing, so you can make a change yourself the moment it would be faster than a prompt. That combination matters for professionals: AI does the heavy lifting from the first prompt, and you keep full control of every pixel after it.
Use this step to test the site the way a visitor would. Click through the navigation, fill out any forms, and check how it looks on a smaller screen. Small refinements here, spacing, wording, an added section, are normal and expected before you move on.
Step 4: Layer in Skills for SEO, performance, and design polish
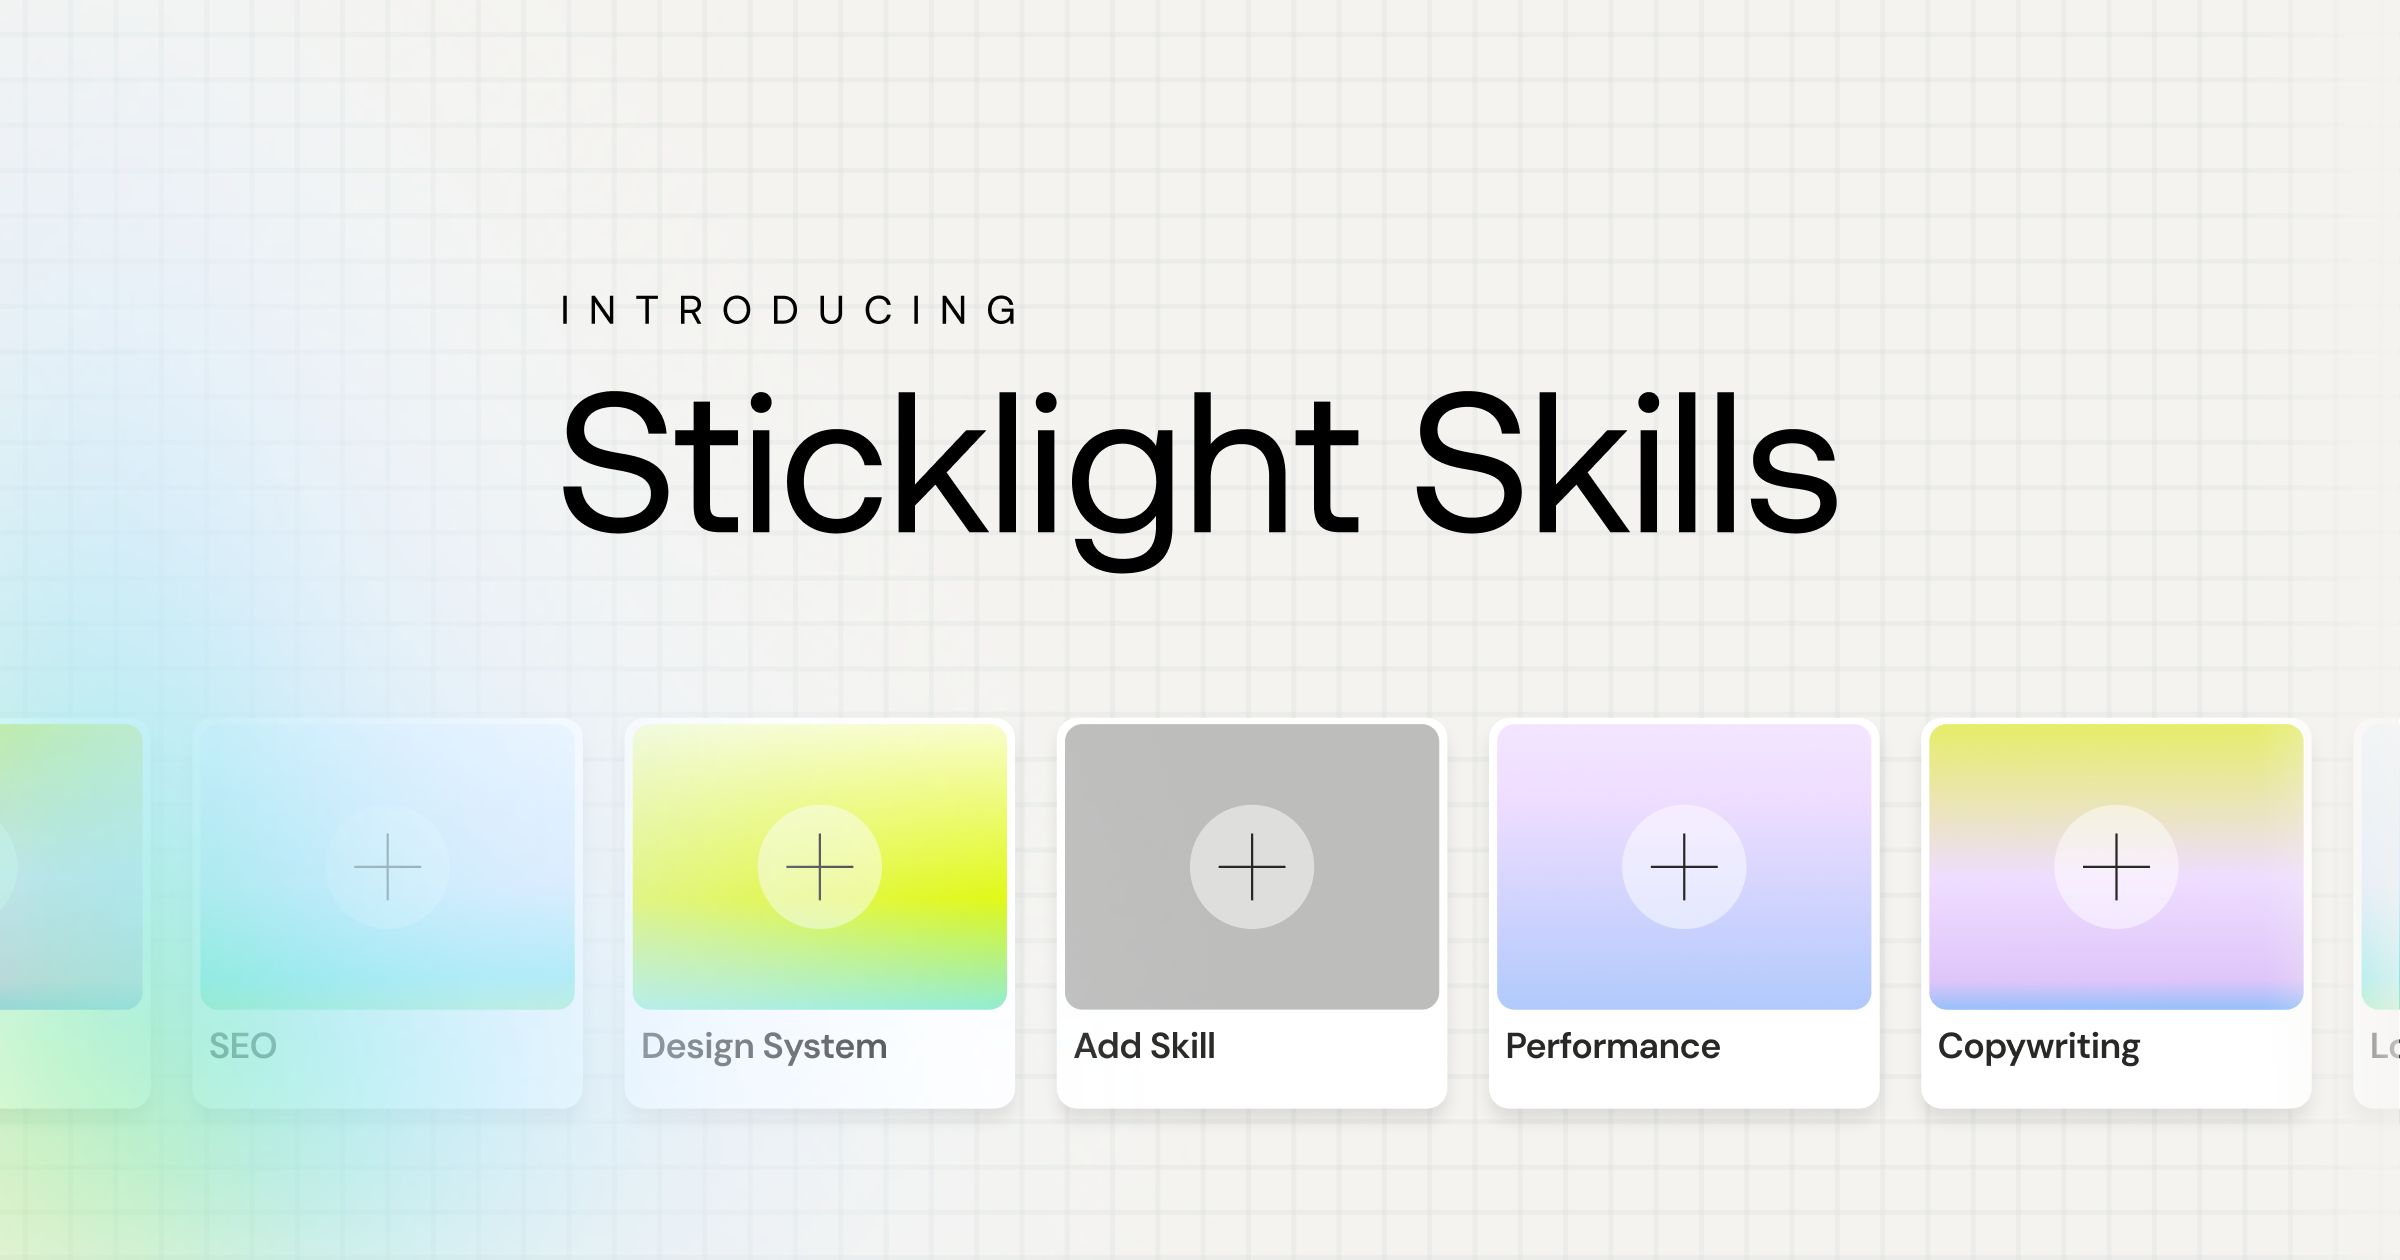
Skills are the part of Sticklight built specifically for production-grade output. A Skill is a packaged unit of expert know-how you add to your build with one click during the Build phase, covering areas like accessibility, SEO, design system, and performance, among others.
For a website you are about to publish, a few of these carry the most weight. The SEO Skill ships meta tags, schema markup, and a sitemap alongside on-page best practices. The Accessibility Skill builds in WCAG-compliant markup, proper focus states, and the right ARIA attributes, so screen readers and keyboard navigation both work as expected. The Performance Skill and Design System Skill round out the technical and visual polish a client-ready site needs.
Skills stack. Add more than one to the same build, and each contributes its own layer of expertise without you having to research and implement it by hand. Sticklight also has Agents on its roadmap as a coming-soon addition to this Build phase, alongside Skills.
Step 5: Publish to production and connect it to your site
The last step turns the build into a live, public website. Sticklight’s Publish phase includes SEO built in, a security scan run on every build, custom domain connection, and app hosting, so the site you generated in Step 2 and refined in Step 3 goes live as a real, working product rather than a preview link.
If you already run a site on WordPress or Elementor, you do not need to start from zero to add a new page, app, or tool. Sticklight treats WordPress as a source of truth you build on and connect to, so a new Sticklight build can sit alongside your existing site rather than replacing it.
Once it is live, the site is not locked. You can return to the same build, describe a new section, or open the canvas and make a direct edit, the same way you did in Step 3. Publishing is a milestone, not an end point.
Built by the Elementor team. Powered by Claude.
Let it glow.
